|
Here is the photo of a slice of Perfect Pecan Pie, as promised. 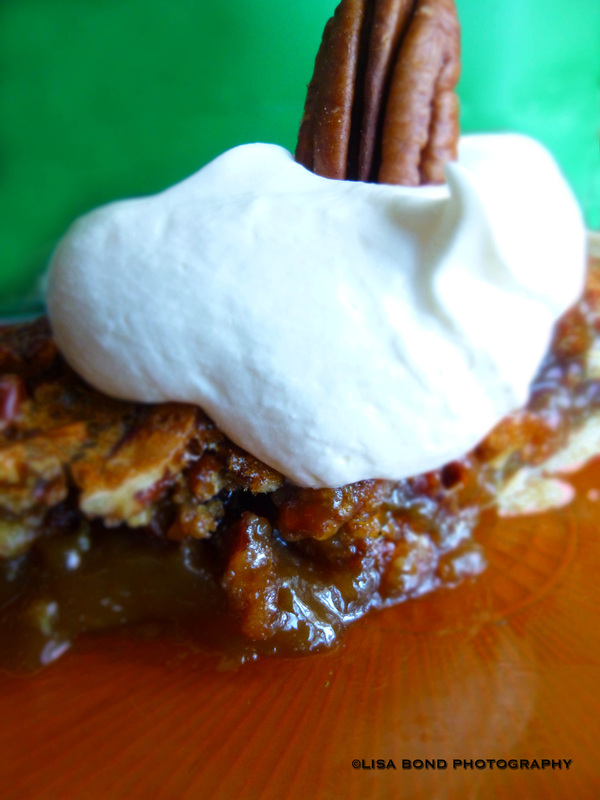
The above photo shows it with one of the extra toasted pecans I talked about in the initial post. 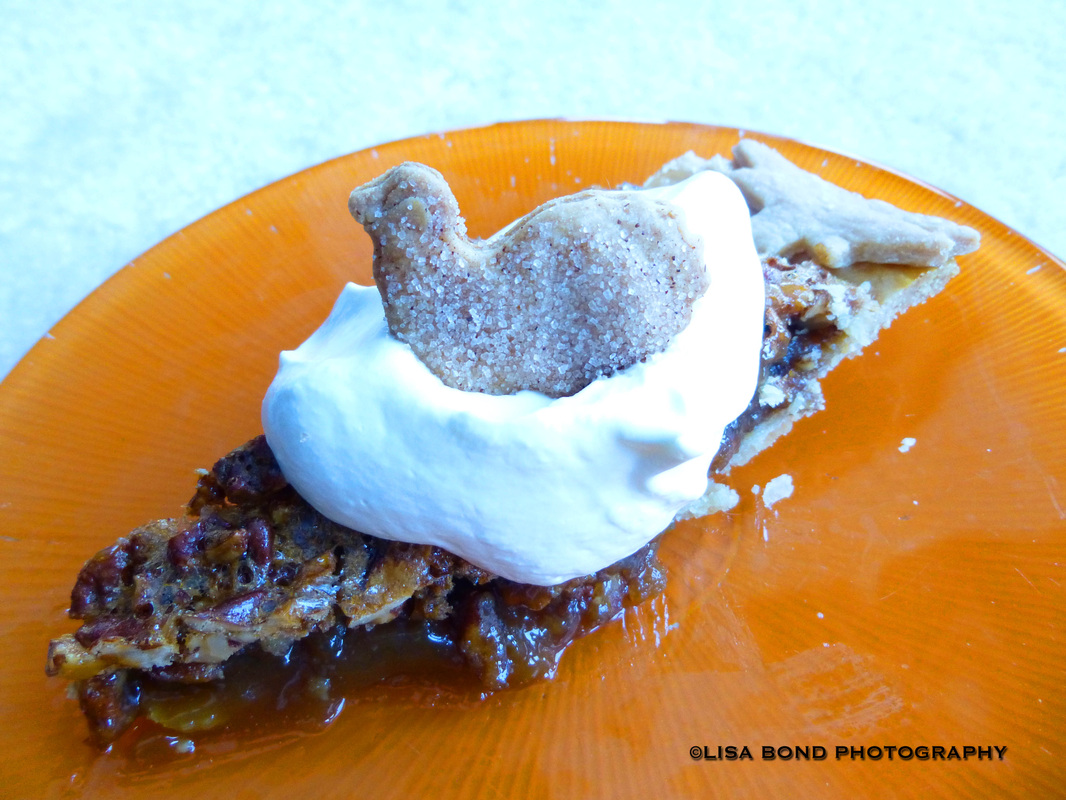
This photo shows it with one of the little pie crust cookies I made, in this case, a turkey. I had no idea it was going to look like a chicken on a nest when I perched it in the cloud of whipped cream, but oh well!
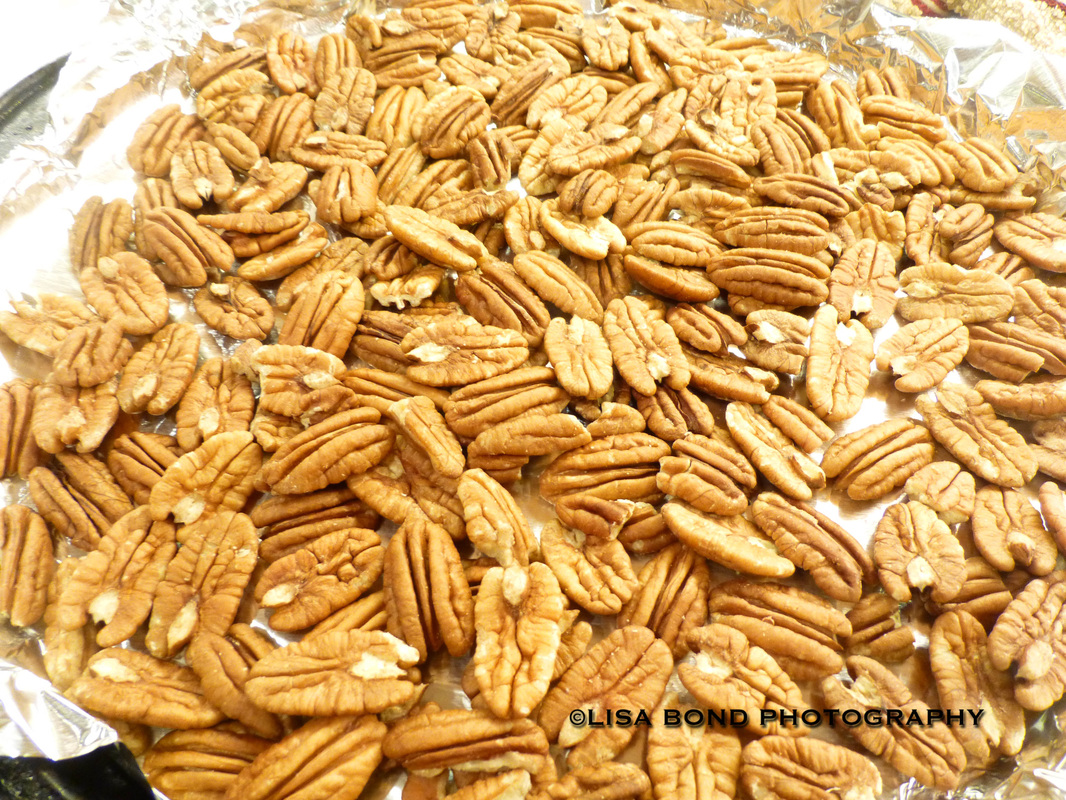
For the record, this is homemade whipped cream, the only kind that will properly do this pie justice. Messing around with Cool Whip or canned whipped cream would be inappropriate with a pie of this caliber. It is worth pointing out that the texture of this pie is a crucial element to its overall success. It is slightly soft but not runny. It is not so firm as to come across as gelatinous which is critical. The filling is opaque and not cloudy as some other pies may appear. The top is crunchy and perfectly balances/counteracts with the softer interior. It is a real winner across all fronts: appearance, texture, and taste. I hope you will give it a try sometime. Thank you for visiting this blog! As promised last week, here is the best Pecan Pie recipe I've ever made. First of all, you need to toast the pecans. I like the Kirkland (Costco) Pecan halves because a 2 lb. bag is only $12.99 and they are nice solid pieces. 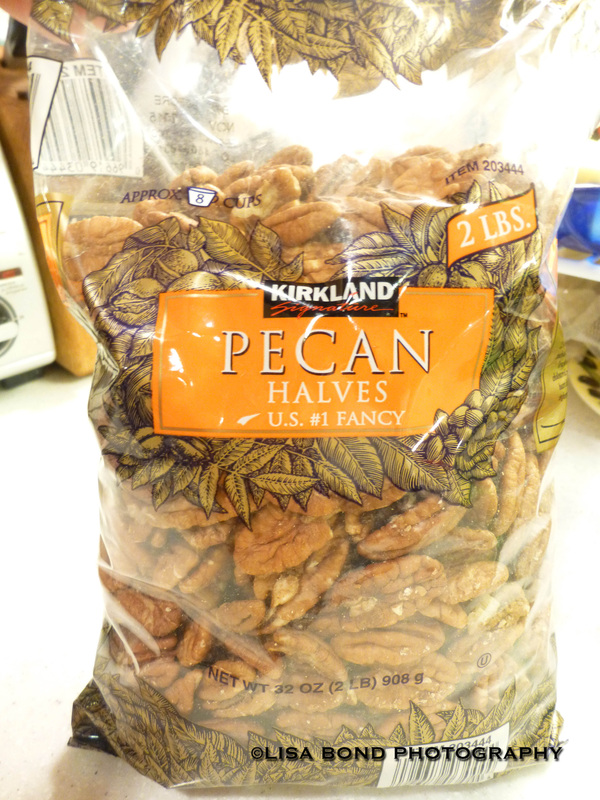
Take the 2 cups of pecans needed for the recipe and spread them on a baking sheet. I added another cup because I always end up eating some and it's nice to have a few extra for decorations, so I'd say I've got 3 cups here. Heat the oven to 350 degrees and bake them for about 12 minutes. Avoid the temptation to leave the kitchen and do something else. I've burned my fair share of pecans because I got distracted elsewhere. Nuts burn fast and there is no bringing them back once they've gone too far. By the 10 minute mark, it's good to be paying close attention to what's going on and give them a stir. Generally speaking, once you can smell the nuts, they are done. 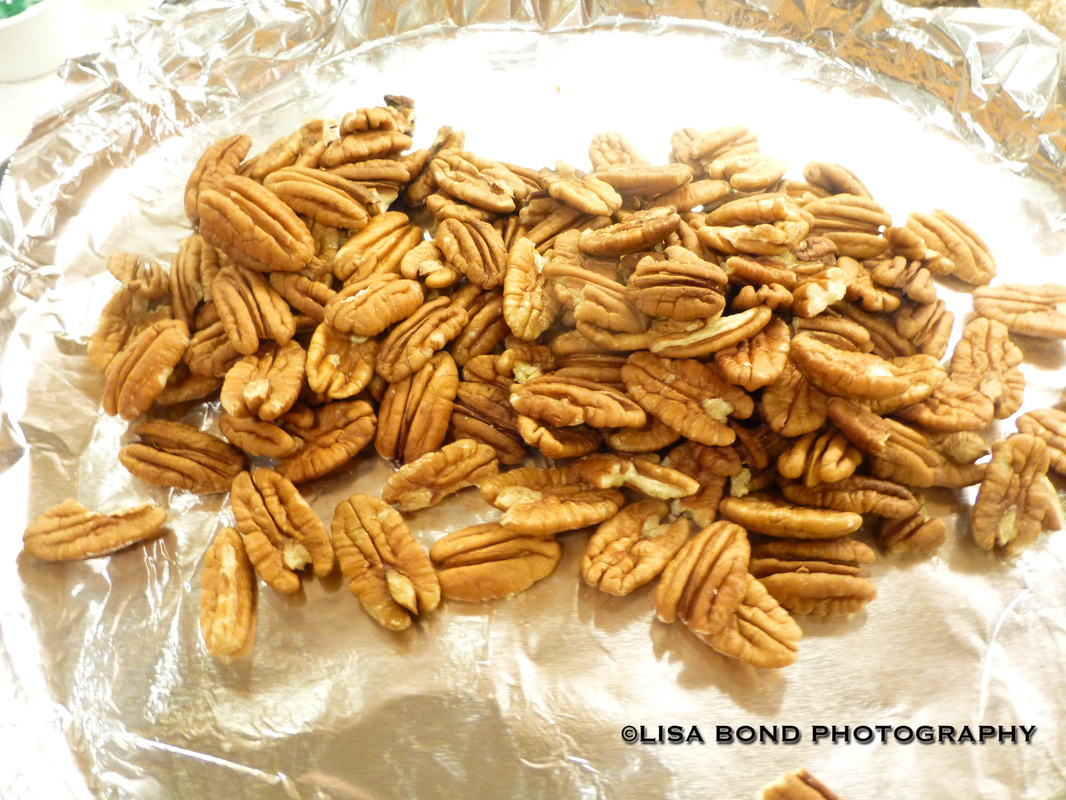
Here are the nuts after they are roasted. 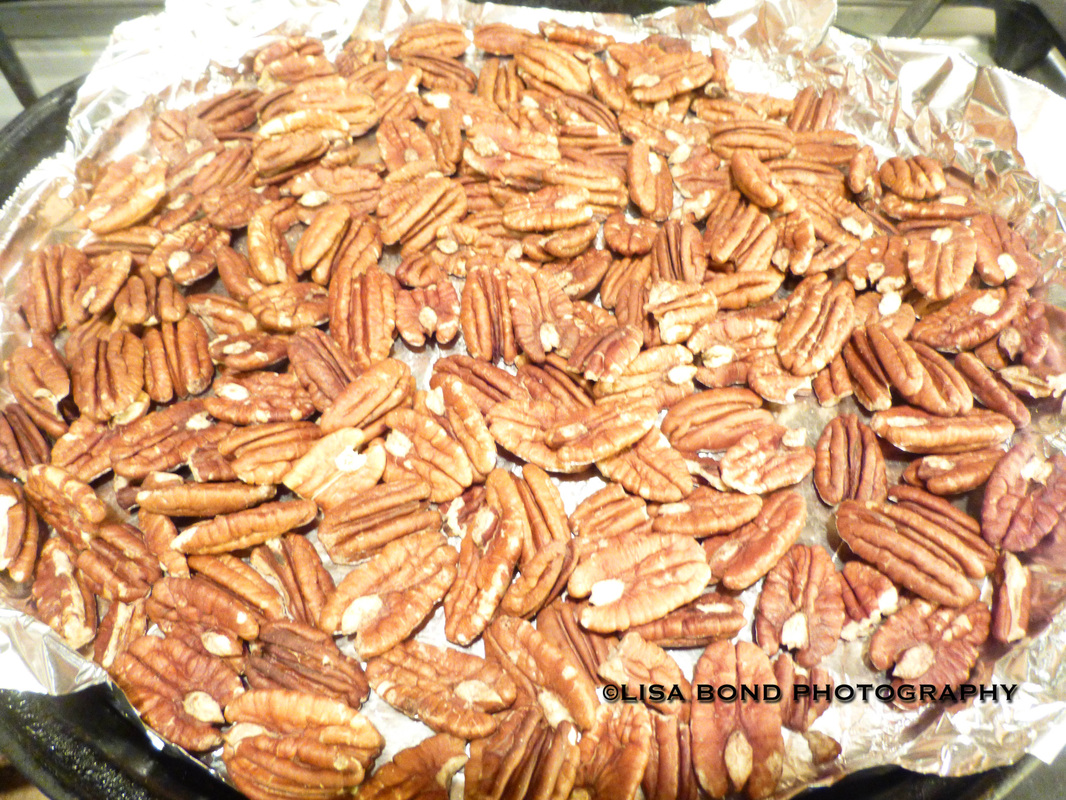
These roasted for exactly 12 minutes and they look good. Only one or two look a bit dark. The nut circled below is too dark. You want to throw out any that are this color. 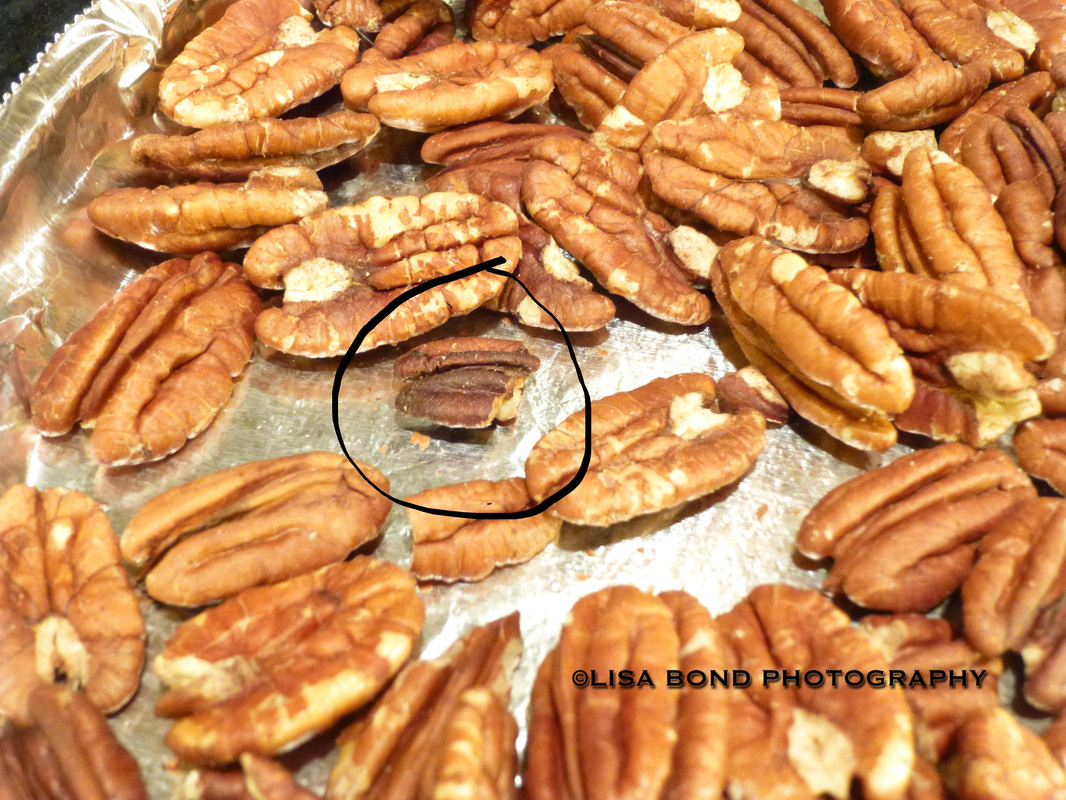
I turn on the exhaust fan to get the smell out of the house quick because of my child with nut allergies. Some years I have put them in the patio if it's not too cold or I try to do it when he isn't in the house. Next, you want to chop them up. I chop mine rather gingerly to avoid having nut fragments flying all over the place on account of my child with allergies. Also, I think the larger pieces are more toothsome than if they were chopped too small. The next thing I do is prepare the pie crust. Use any recipe you like, here is the one I used today: Flaky Pie Crust Bon Appétit | 2000 by Elinor Klivans Makes one 9-inch crust A terrific all-purpose pie crust from Elinor Klivans. Use it during the holiday season and all year long. ingredients
preparationMix flour, sugar and salt in processor. Add butter and shortening. Using on/off turns, process until mixture resembles coarse meal. Drizzle 3 tablespoons ice water over mixture. Process just until moist clumps form, adding more ice water by teaspoonfuls if dough is dry. Gather dough into ball; flatten into disk. Wrap in plastic; chill until dough is firm enough to roll out, about 30 minutes. Roll out dough on lightly floured work surface to 12-inch round. Transfer dough to 9-inch-diameter glass pie dish. Fold overhang under. Crimp edges decoratively. (Can be prepared 2 days ahead. Cover and refrigerate.) Here is the pie crust after it is rolled out. 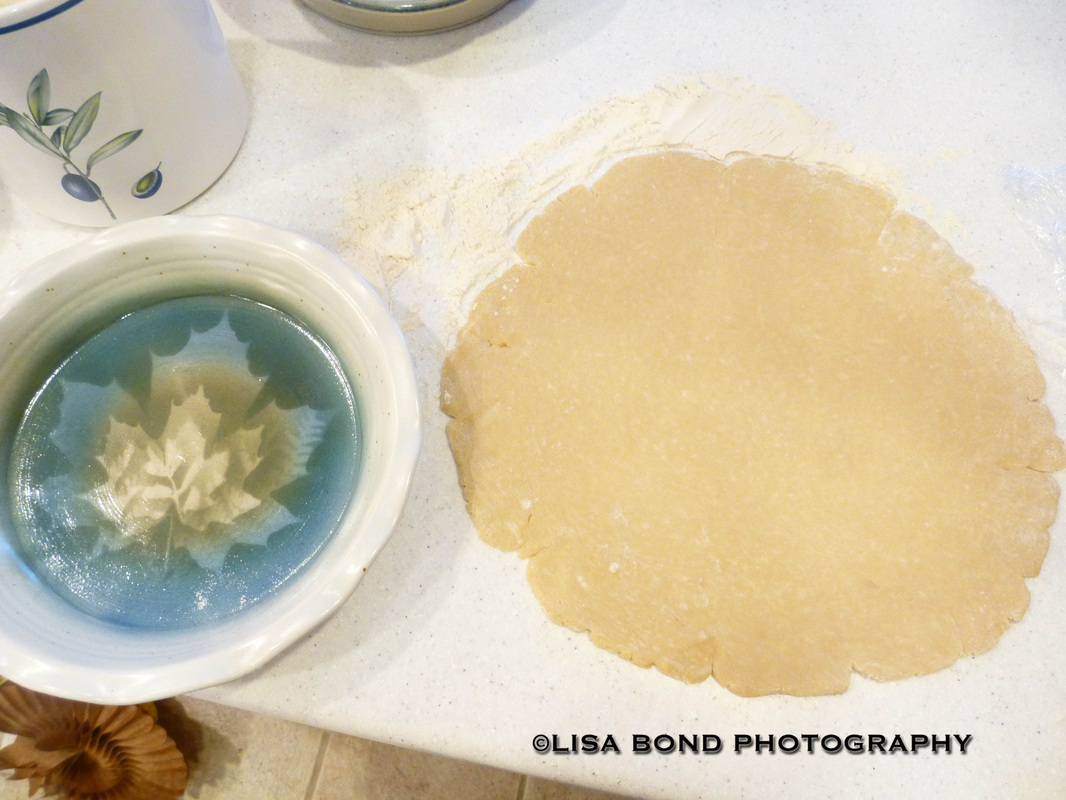
I also like to use festive cookie cutters to cut out little shapes for decoration later. I actually made an extra pie crust to do this. I sprinkle cinnamon sugar on them and bake them for 10 or 15 minutes on a separate cookie sheet. This comes from my Grandma, who used to do exactly that with the pie crust scraps. The kids loved them. 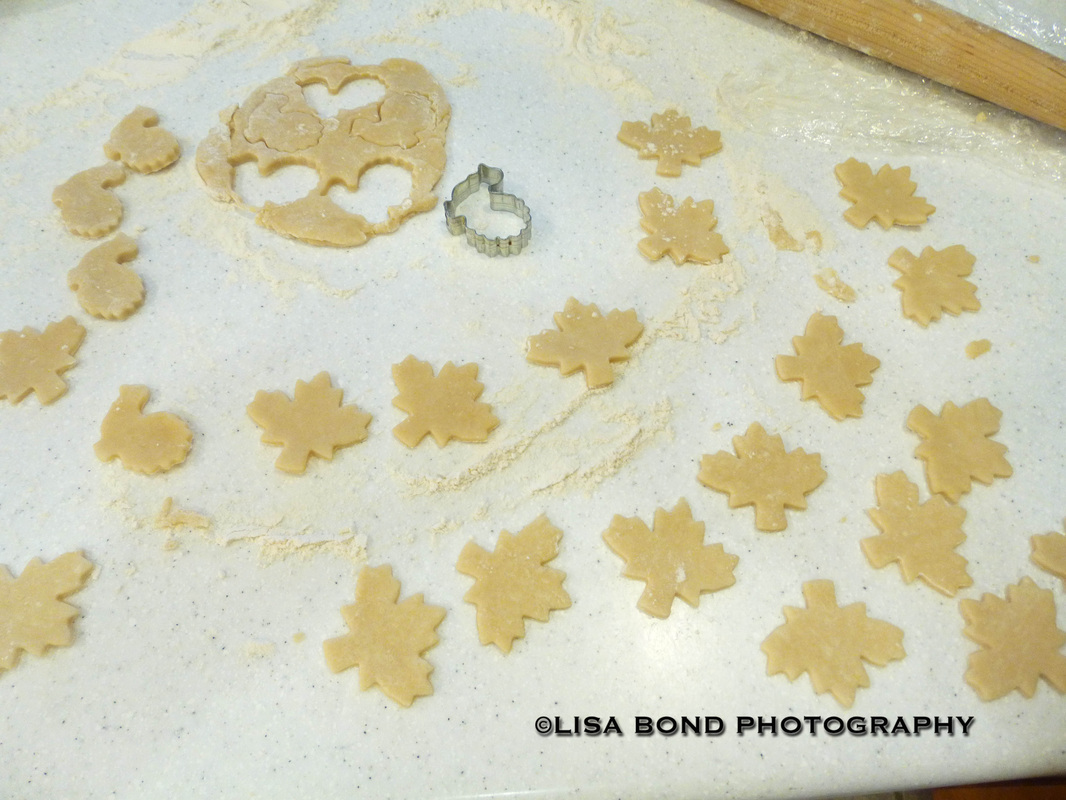
This pie crust needs to be blind baked, so bake it in the oven and use whatever you prefer to keep the crust flat: beans, pie weights, another pie pan, etc. Bake it for 15 minutes at 400 degrees. I am using aluminum foil to keep it flat. I also used a fork to poke holes in through the foil to avoid air bubbles forming. 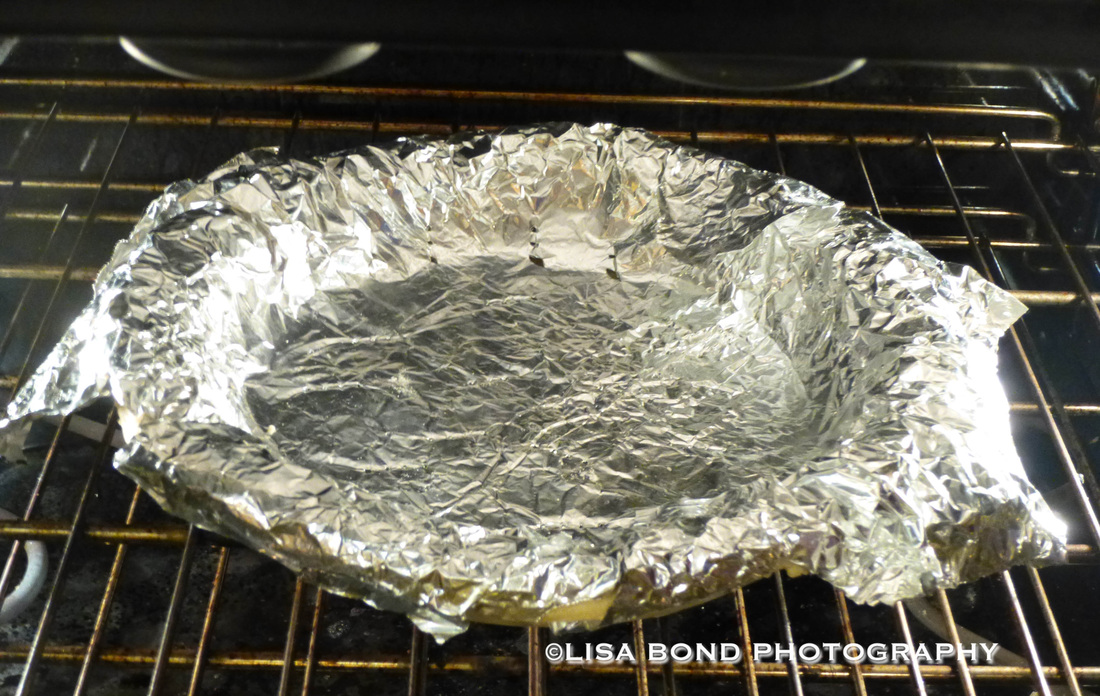
Take off the foil and brush an egg yolk wash in the crust. This should consist of one egg yolk with a tiny bit of water, about 1/8 teaspoon. Bake it for one more minute. I am never happy with how my pie crusts look, but here it is for the record. 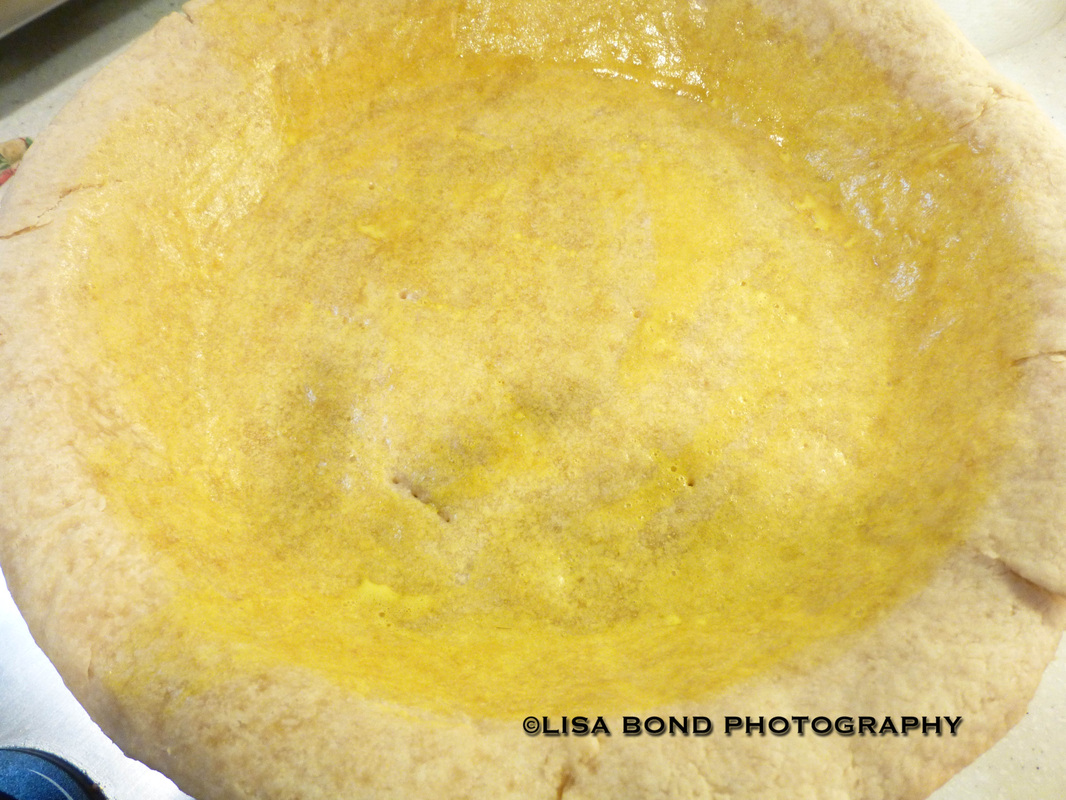
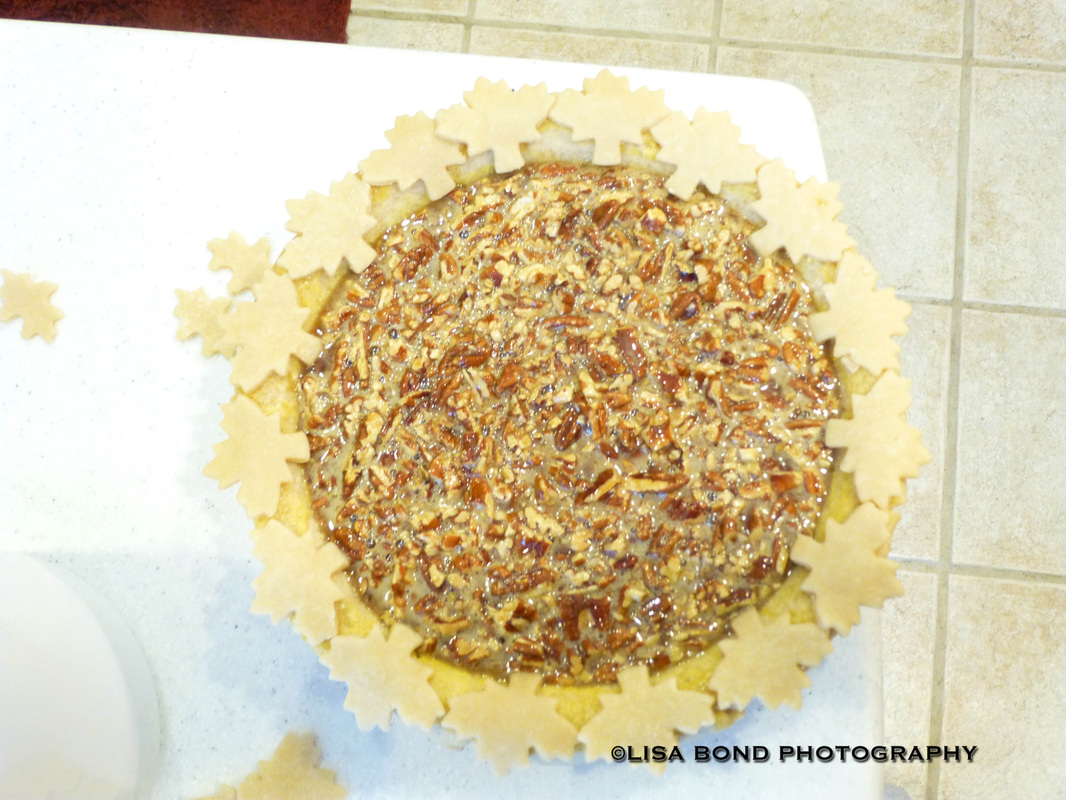
Now I am going to decorate the edges with some of those cookie pie crust leaves I made earlier. 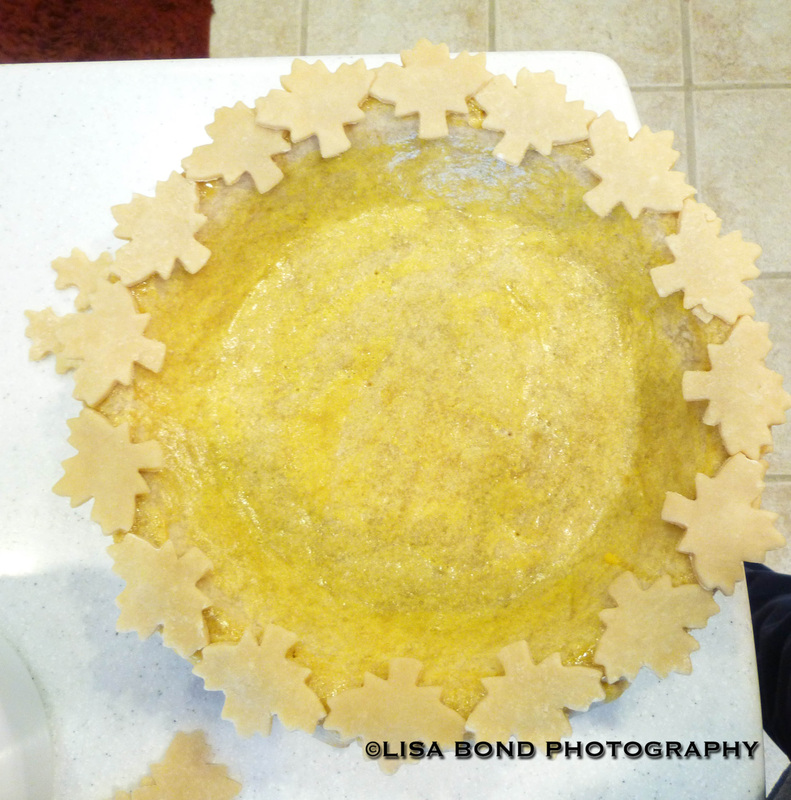
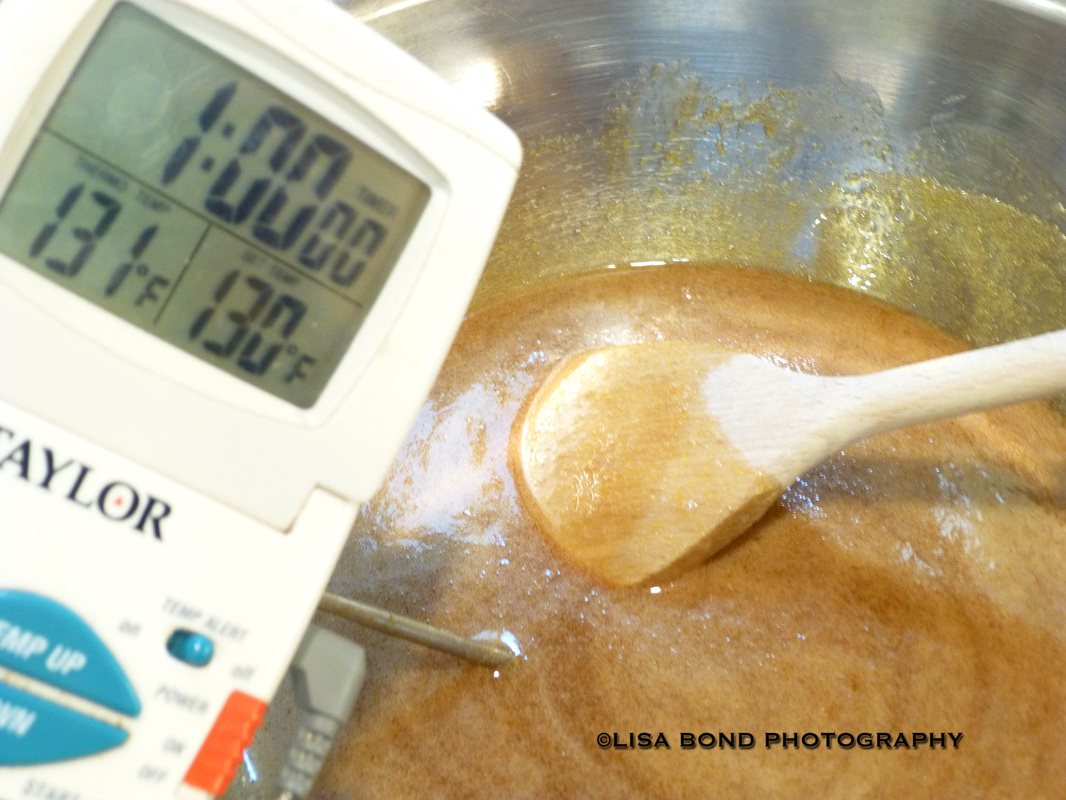
Finally, it is time to make the pie filling. Here is the recipe: Perfect Pecan Pie Serves 8 If you want warm pie, cool the pie thoroughly, then cut and warm it in a 250-degree oven for about 20 minutes. 1 9-inch baked pie shell 6 T. unsalted butter, cut into 1 inch pieces 1 cup packed dark brown sugar 1/2 teaspoon salt 3 large eggs 3/4 cup light corn syrup 1 T. vanilla extract 2 C. pecans (8 ounces), toasted and chopped into small pieces 1. Adjust oven rack to center position, and heat oven to 275 degrees. Place pie shell in oven if not already warm. 2. Melt butter in medium heatproof bowl set in skillet of water maintained at just below simmer. Remove bowl from skillet; mix in sugar and salt with wooden spoon until butter is absorbed. Beat in eggs, then corn syrup and vanilla. Return bowl to hot water; stir until mixture is shiny and warm to the touch, about 130 degrees. Remove from heat; stir in pecans. 3. Pour mixture into warm shell; bake until center feels set yet soft, like gelatin, when gently pressed, 50 to 60 minutes. Transfer pie to rack; let cool completely, at least 4 hours. Serve pie at room temperature or warm, with lightly sweetened whipped cream or vanilla ice cream. Cook's Illustrated, November/December 1995 Here is the recipe, step-by-step, with photos. First of all, mise en place. Assembling the ingredients now will help with baking later. 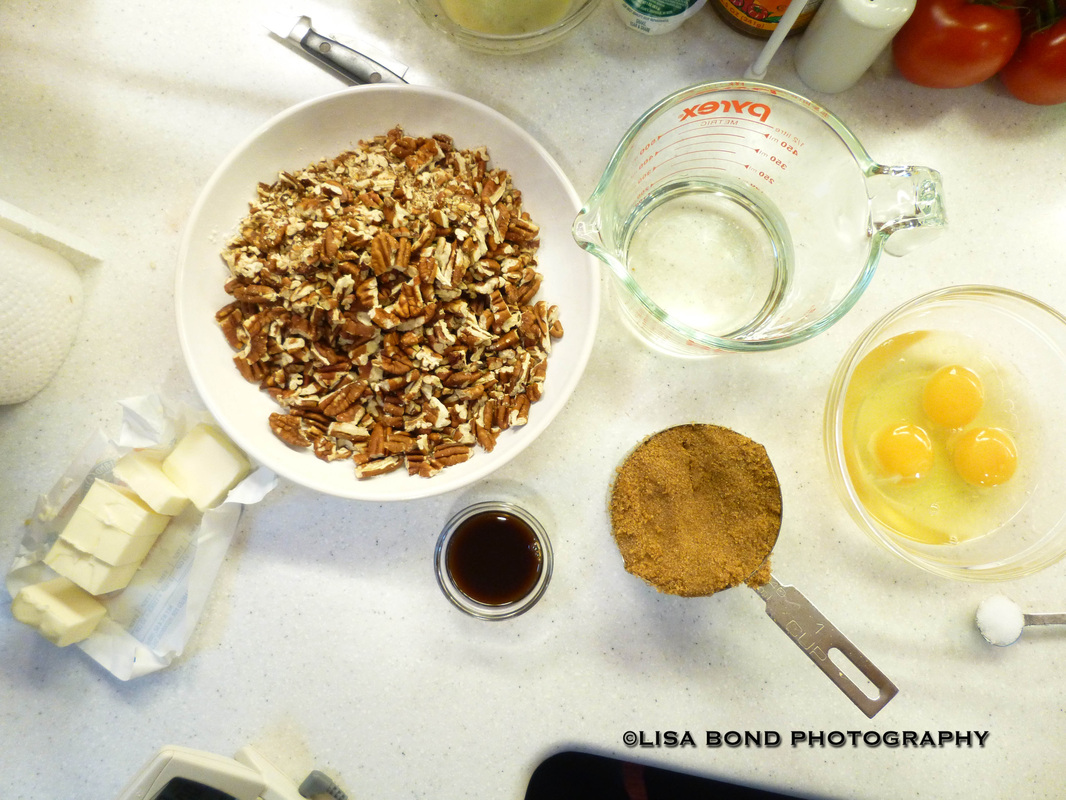
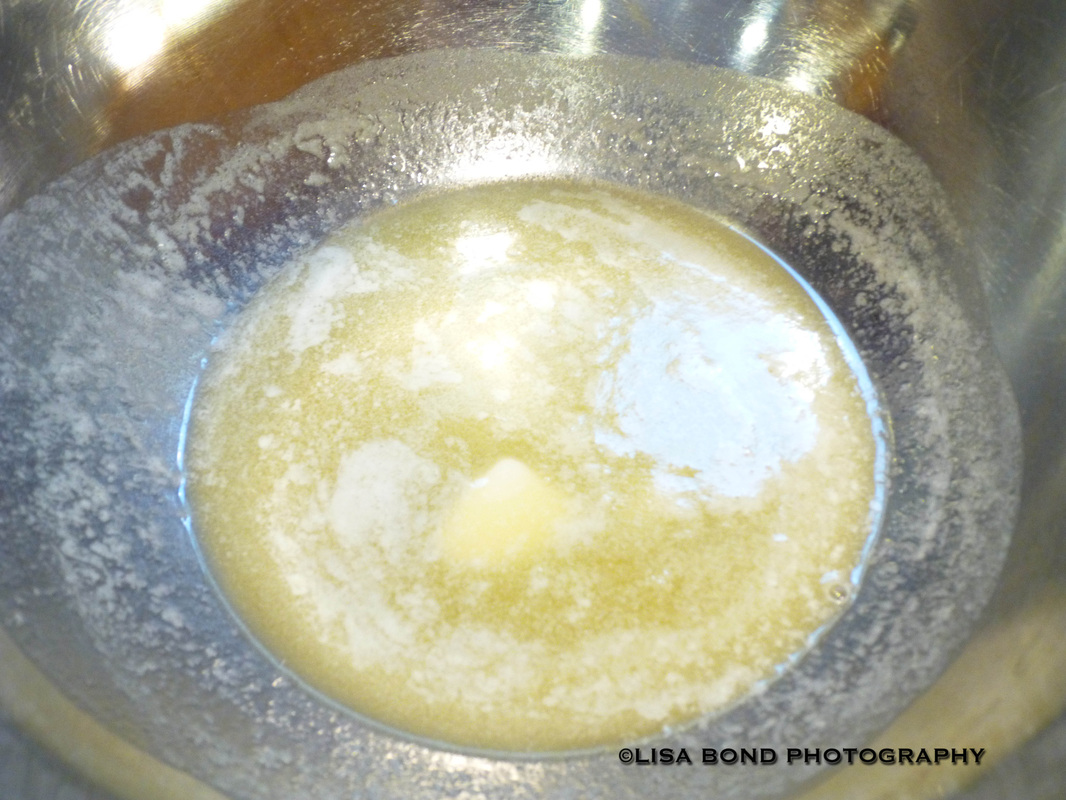
Melt butter in medium heatproof bowl set in skillet of water maintained at just below simmer. 
Remove bowl from skillet; mix in sugar and salt with wooden spoon until butter is absorbed. 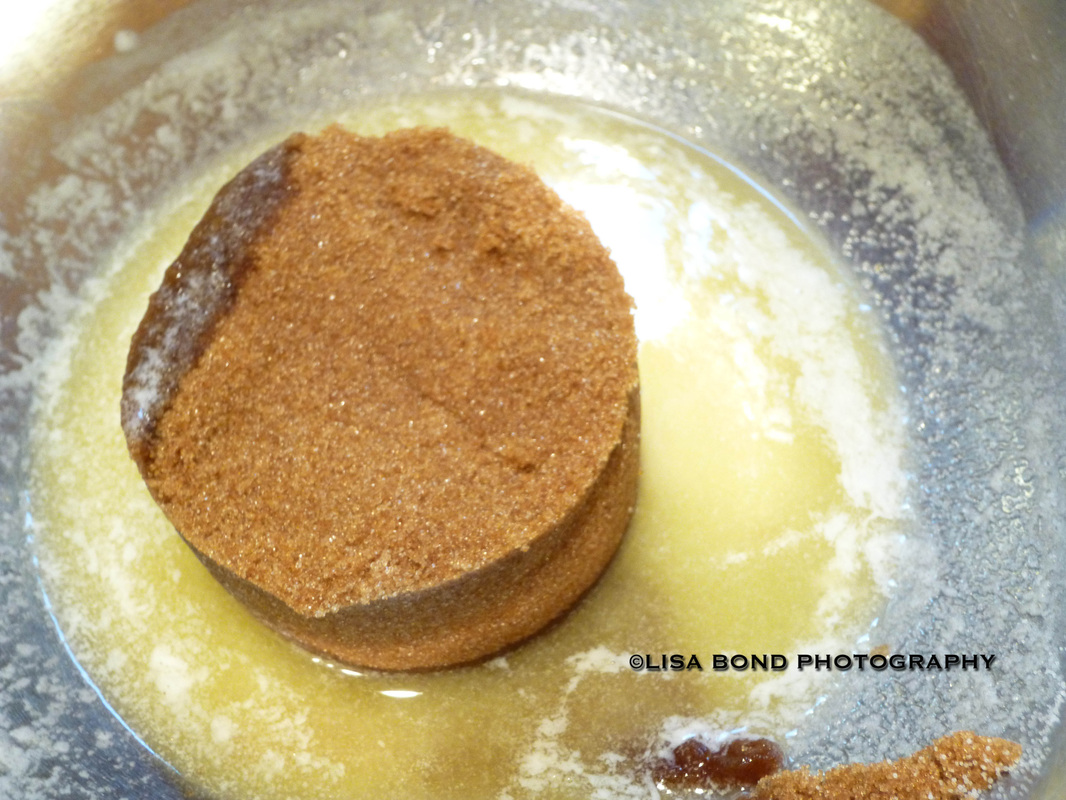
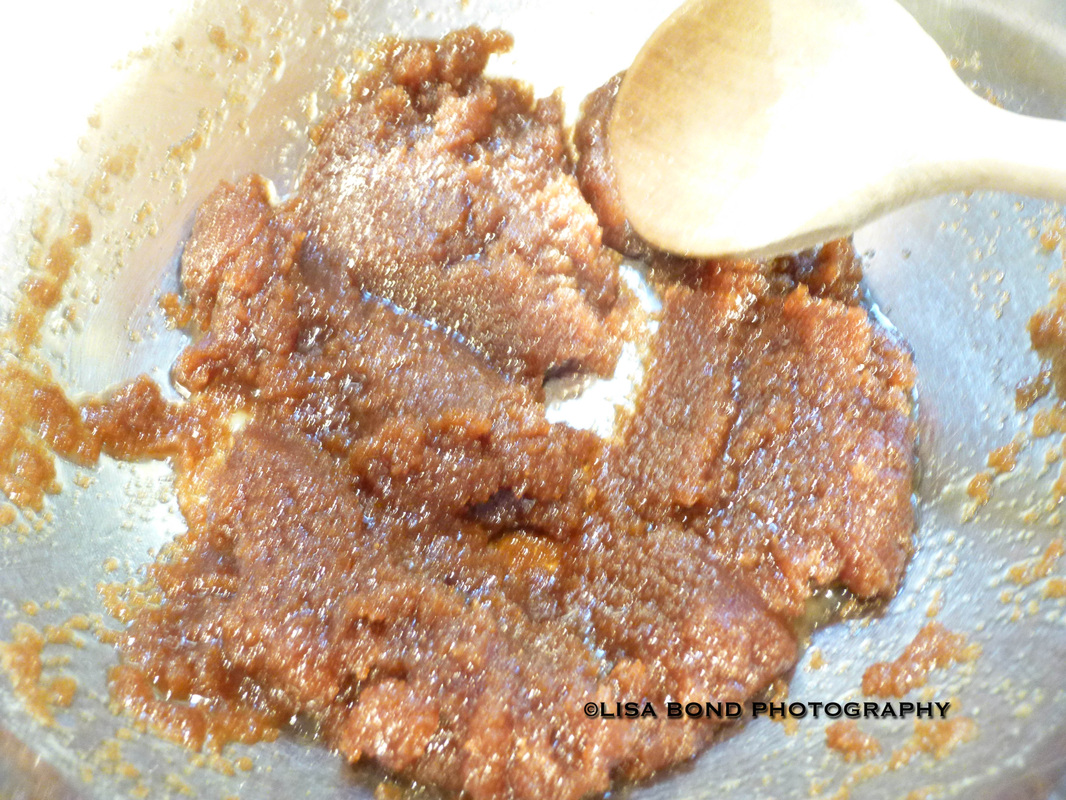
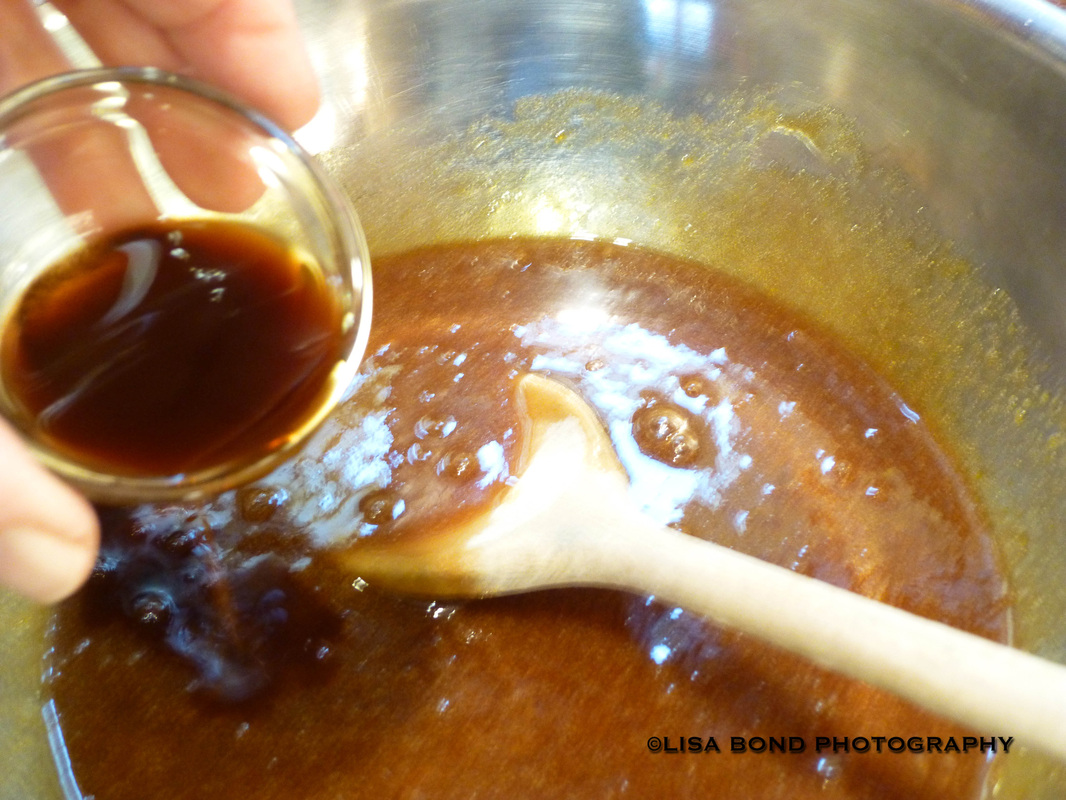
Beat in eggs, then corn syrup and vanilla. 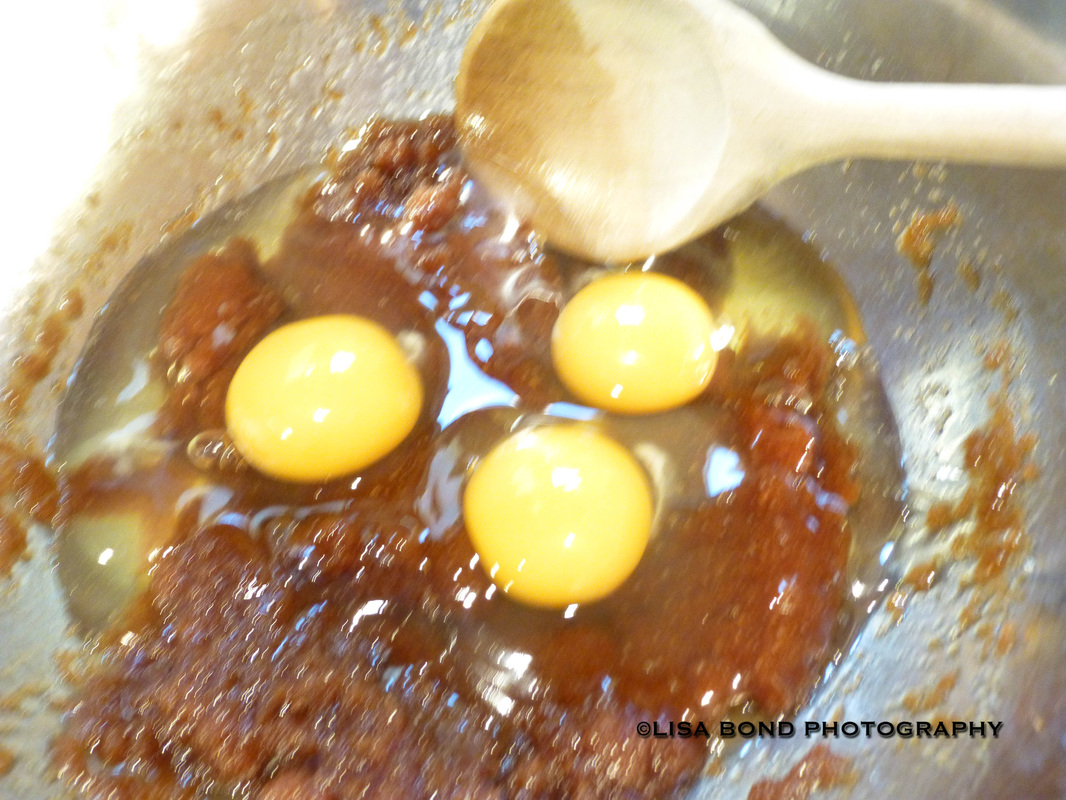
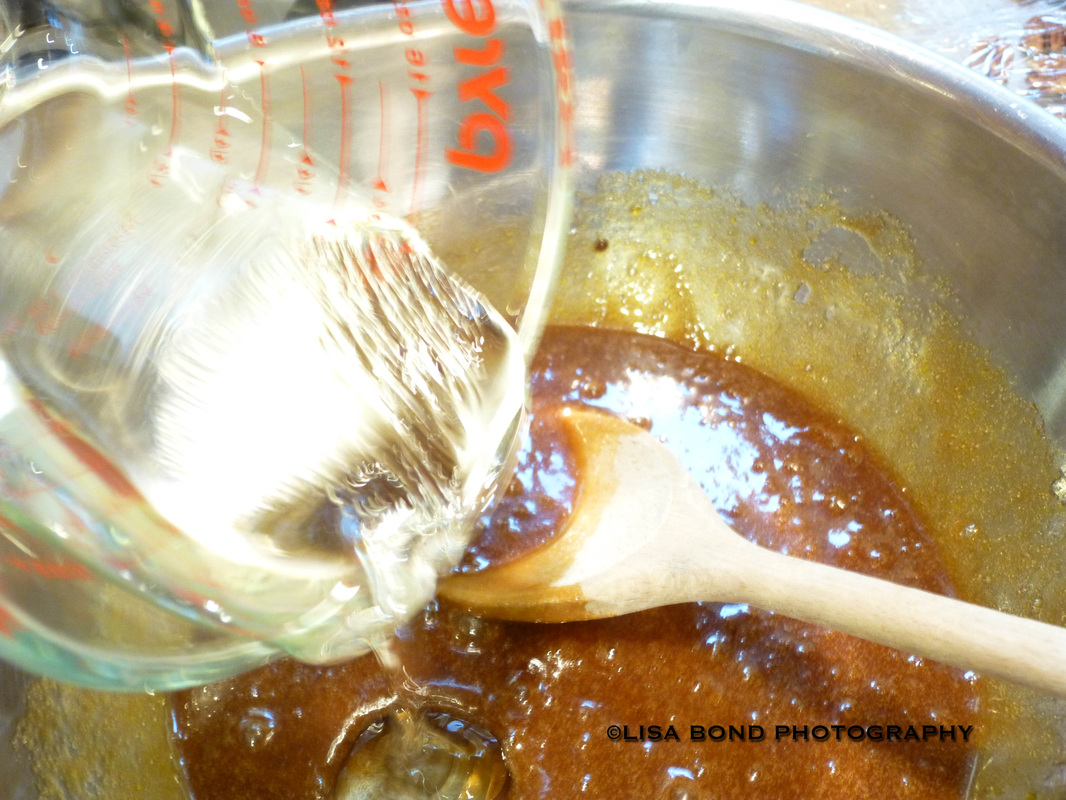
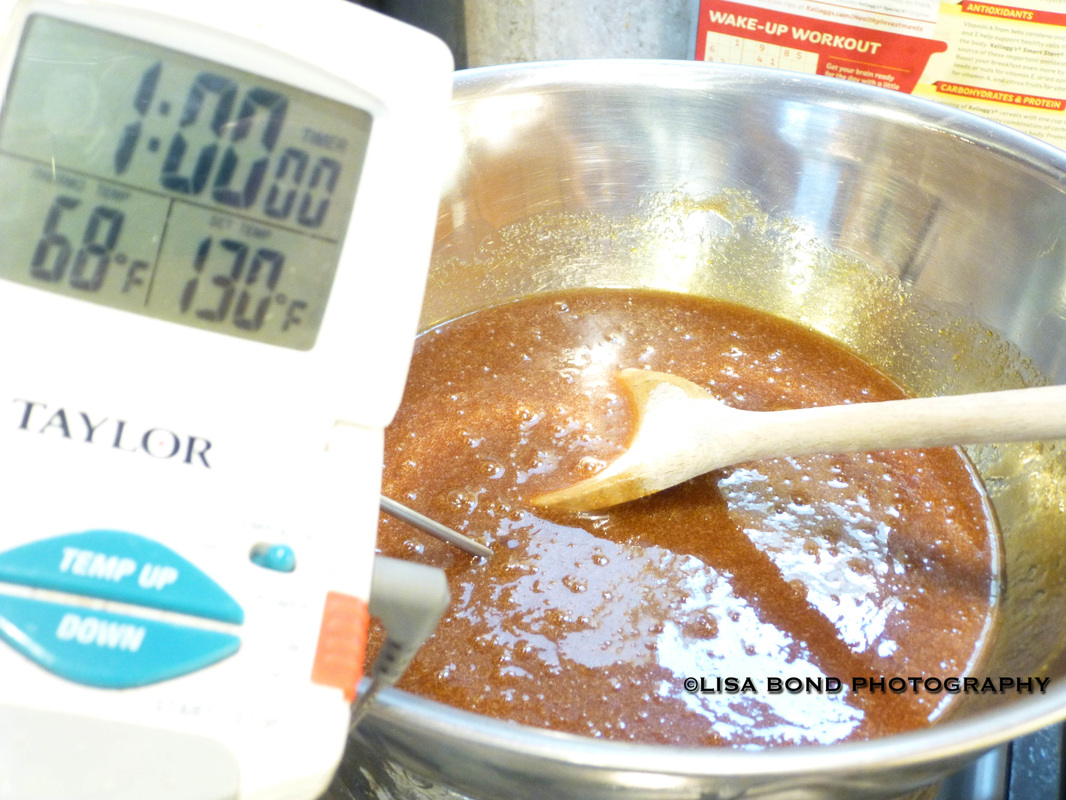
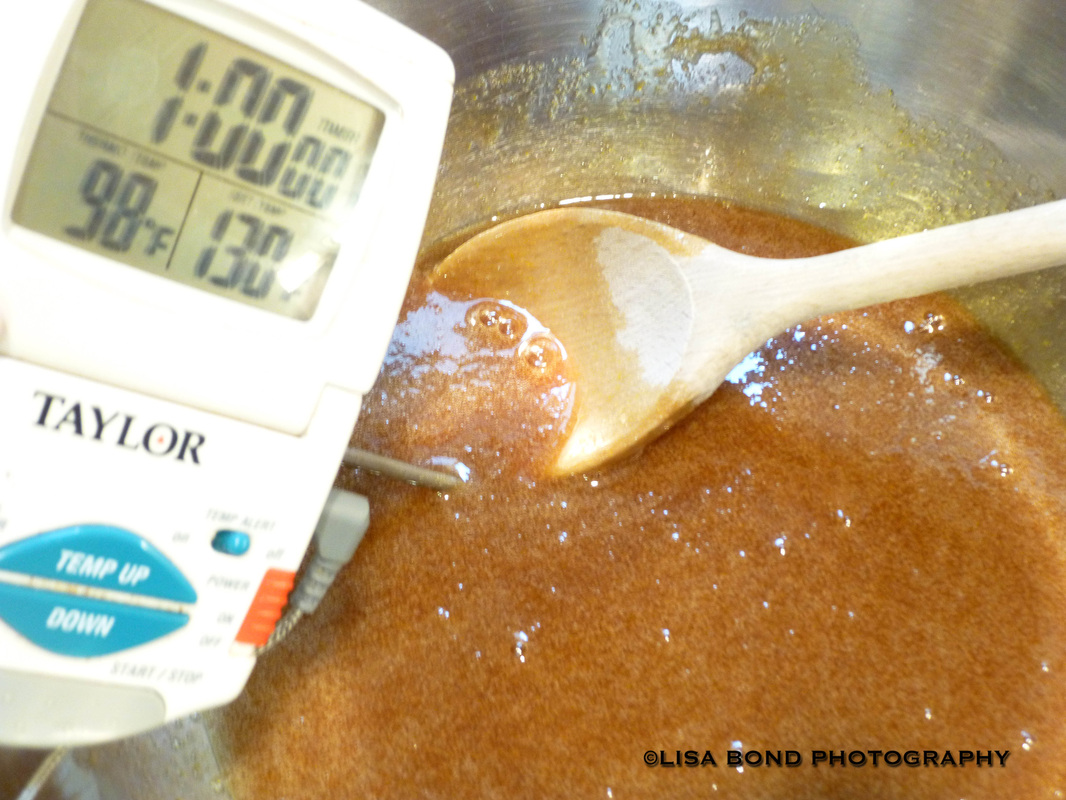
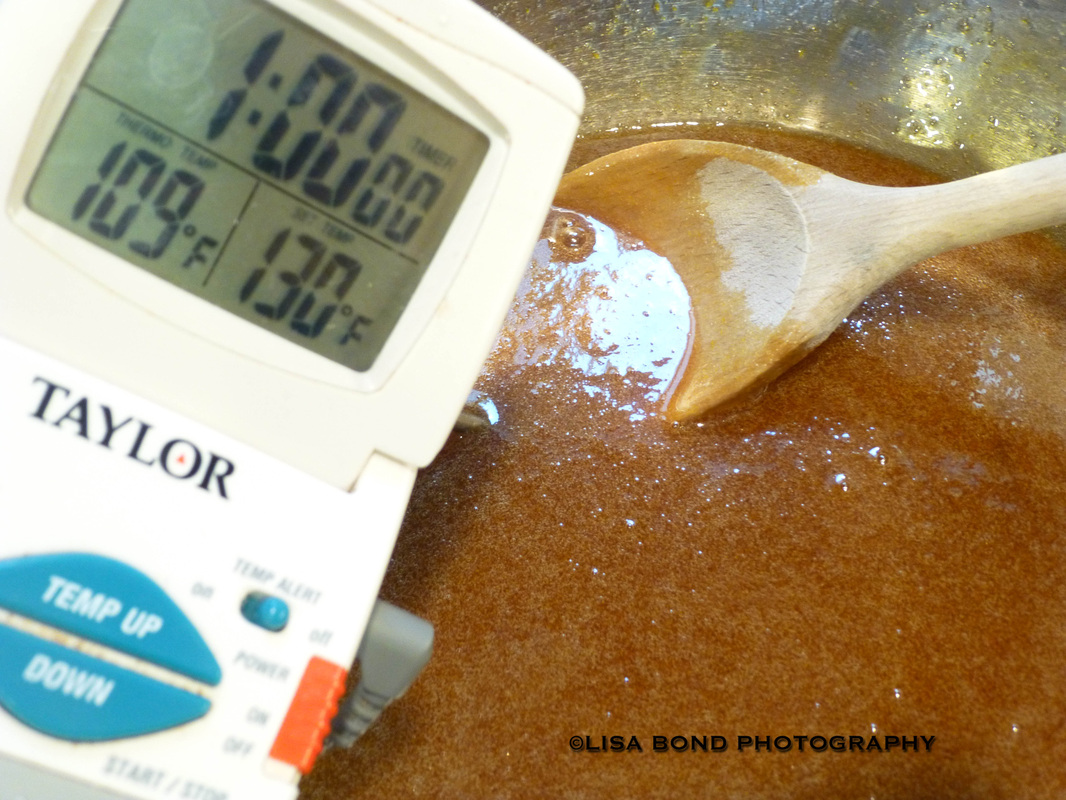
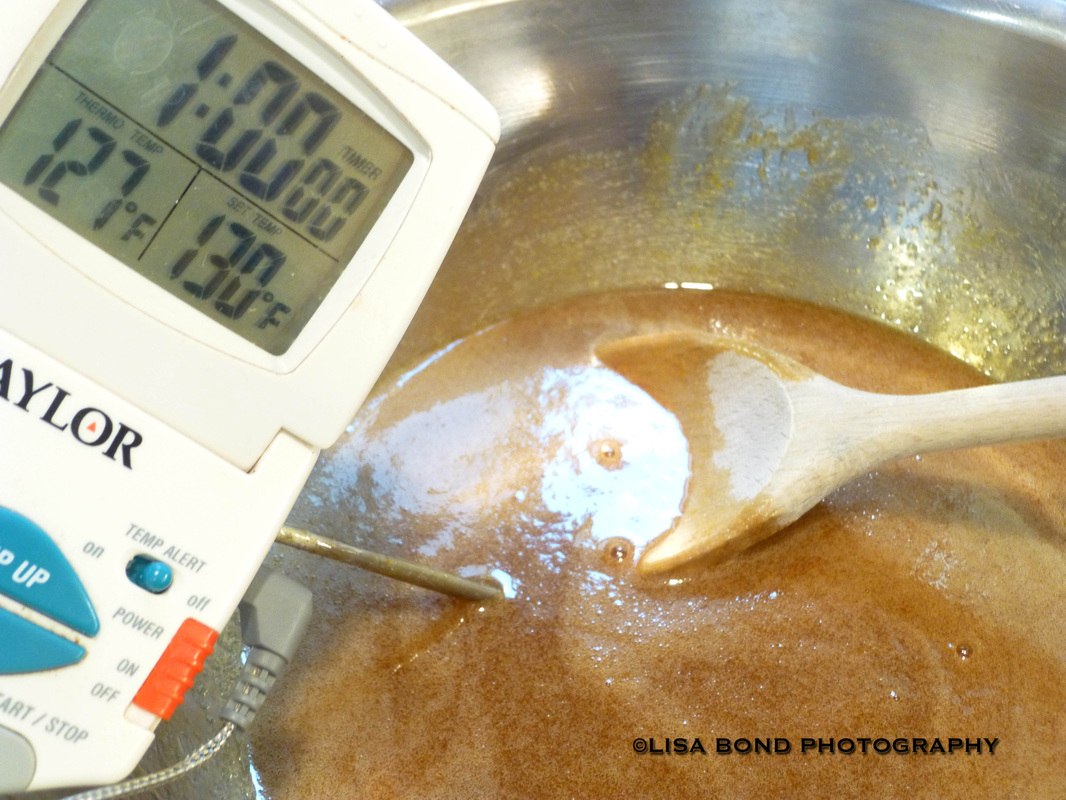
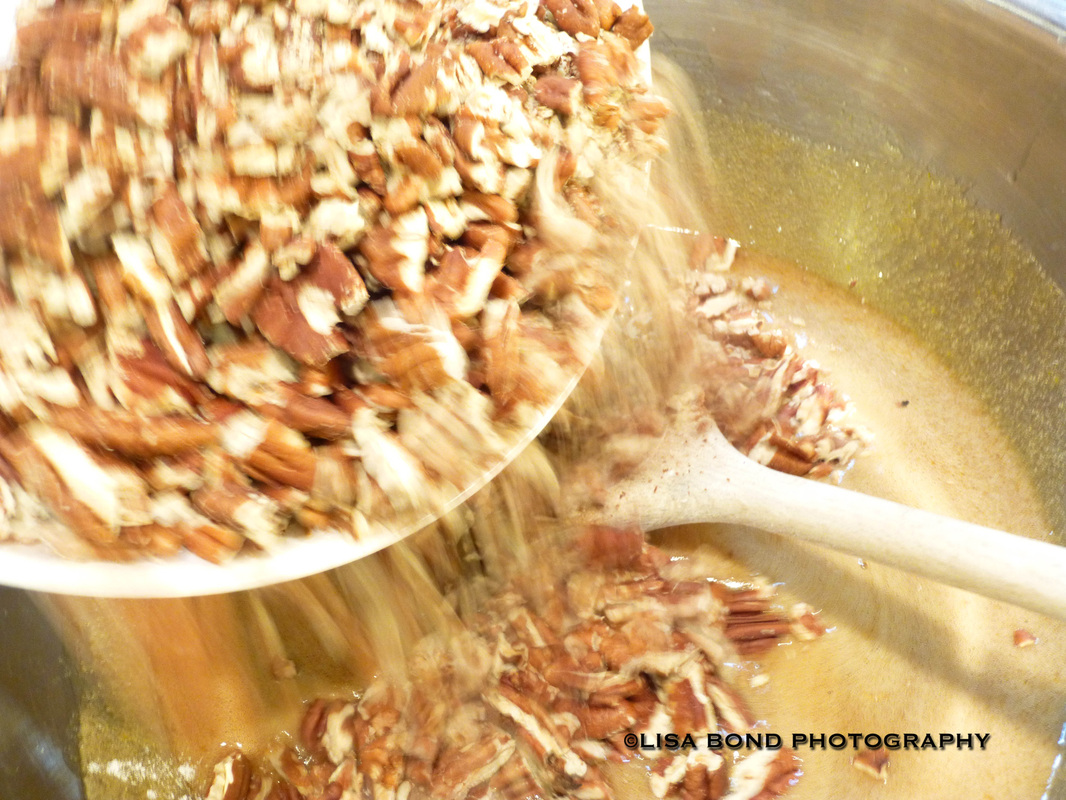
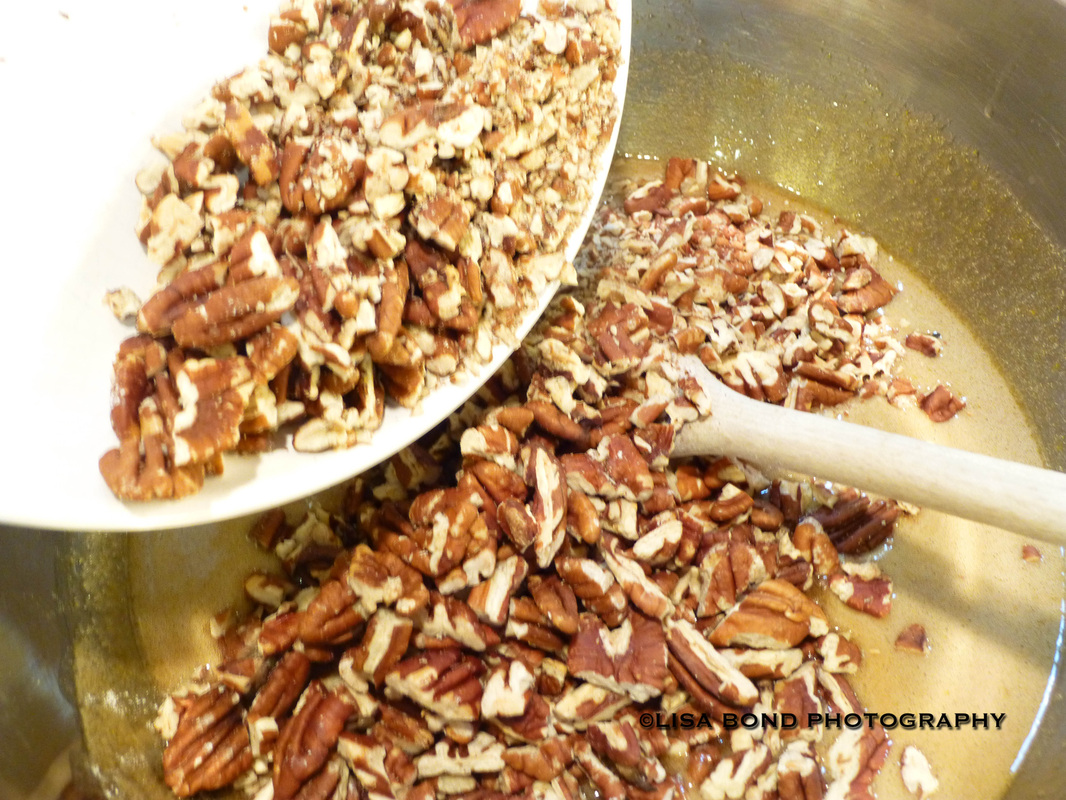
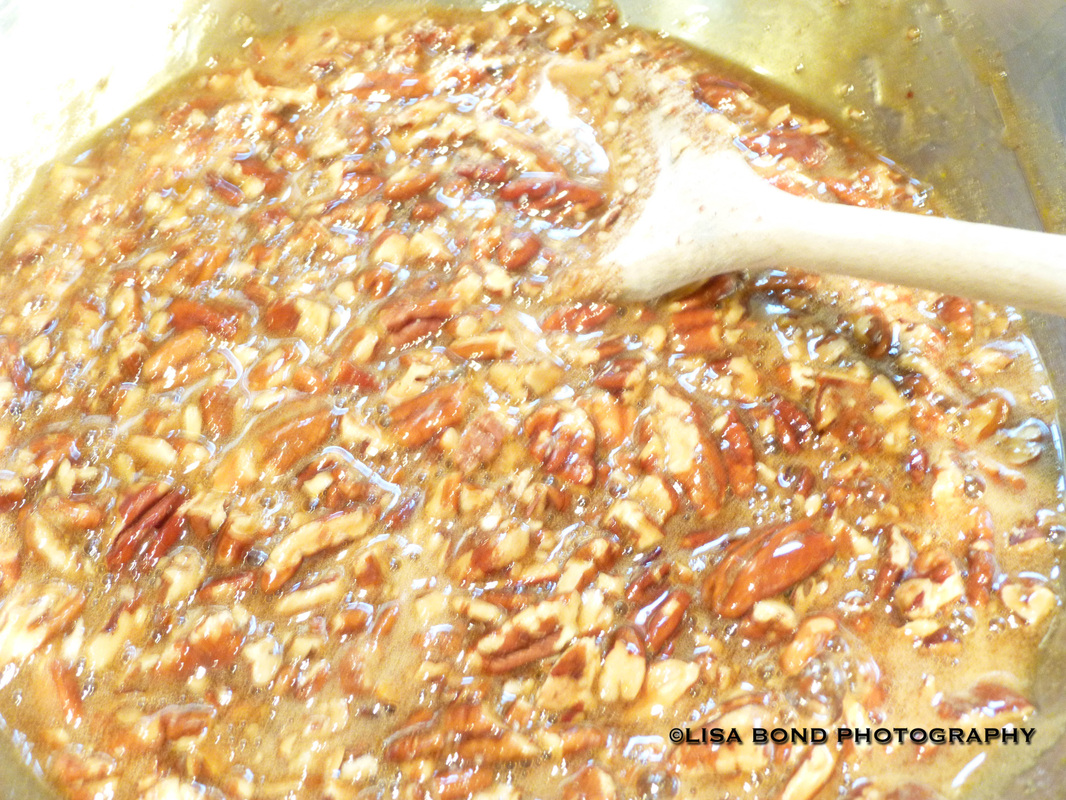
Return bowl to hot water; stir until mixture is shiny and warm to the touch, about 130 degrees. Remove from heat; stir in pecans. Pour mixture into warm shell; bake until center feels set yet soft, like gelatin, when gently pressed, 50 to 60 minutes. 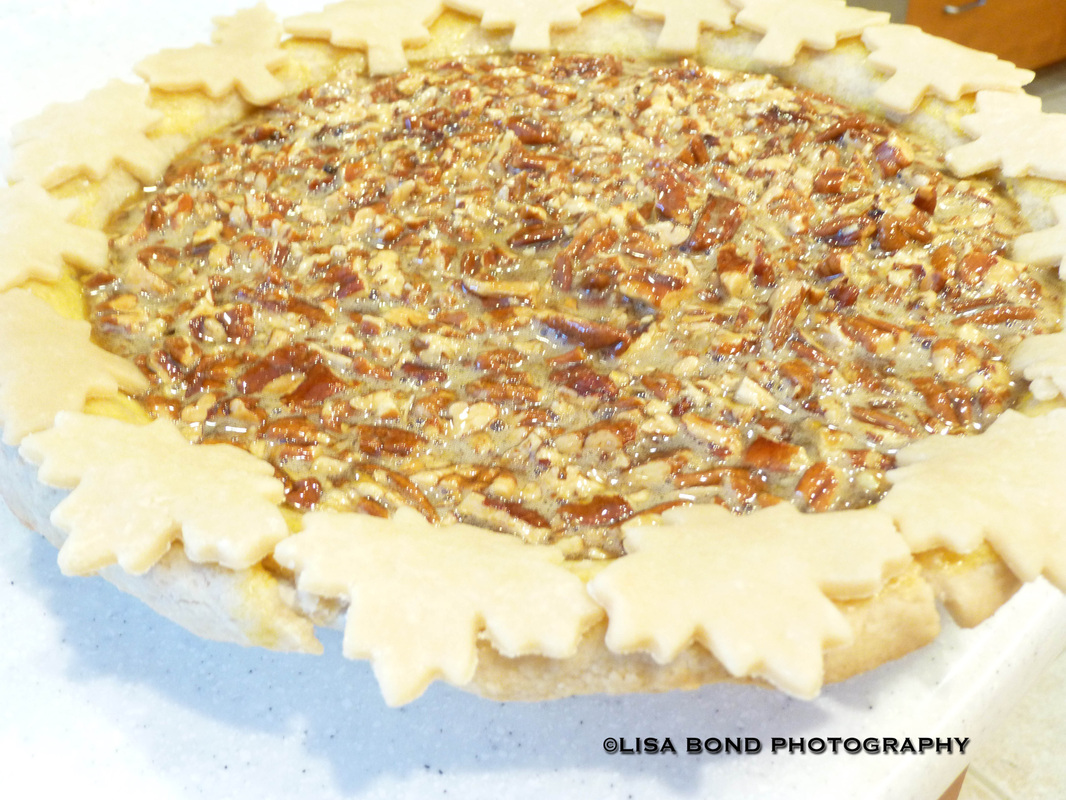
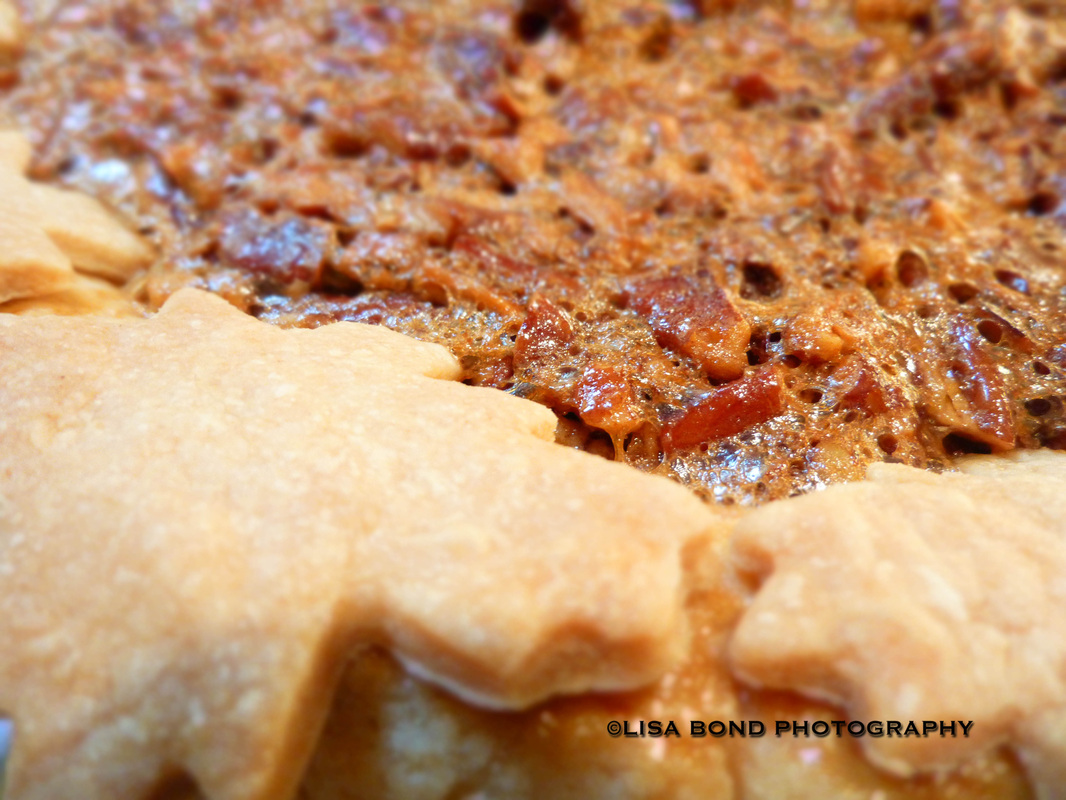
I had to bake this pie a bit longer for some reason. I don't remember doing it in year's past, but go with the appearance and make sure the filling isn't sloshing around when the time is up. If it is, bake a little longer. Here is the finished pie. I will take a picture of it tomorrow after I cut a piece and post it for you. 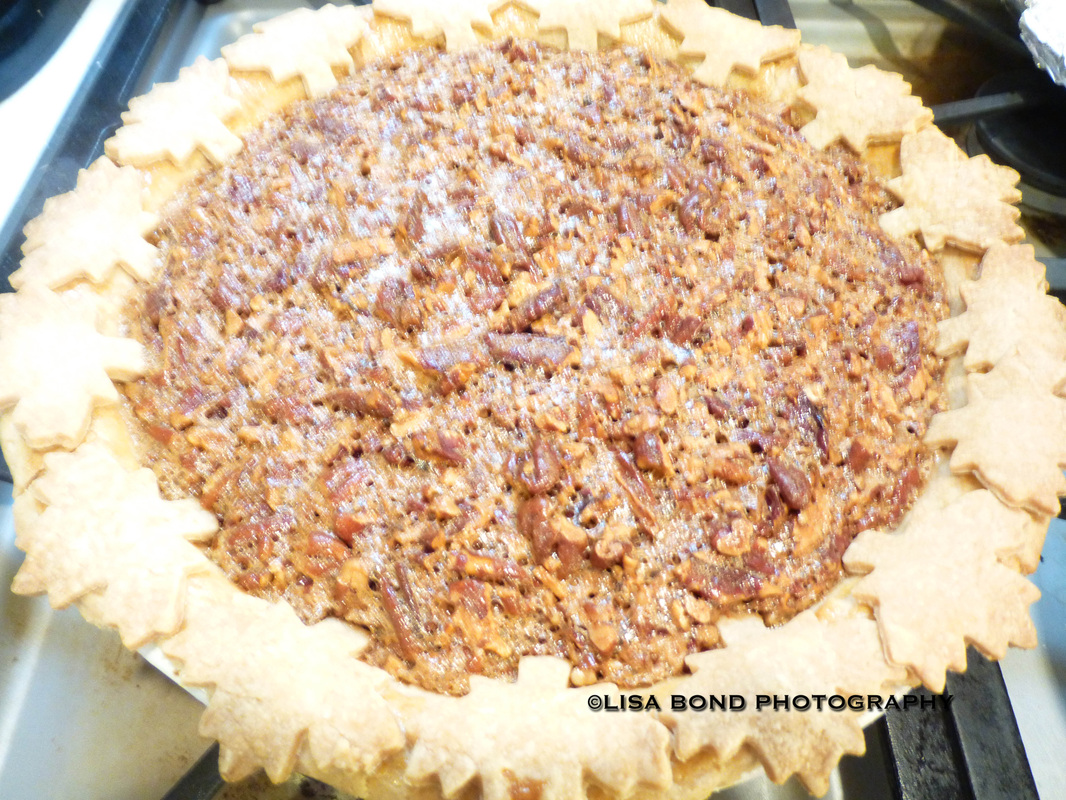
Happy Thanksgiving to you all and thank you for stopping by!
Big plans were underway for this Thanksgiving post. I was about to share a recipe and photos on how to make a very excellent pecan pie. I am not quite ready to make it though, as Thanksgiving is about a week away. I will make it next Wednesday and I'll try to post right afterward. If you want to bake this pie, get
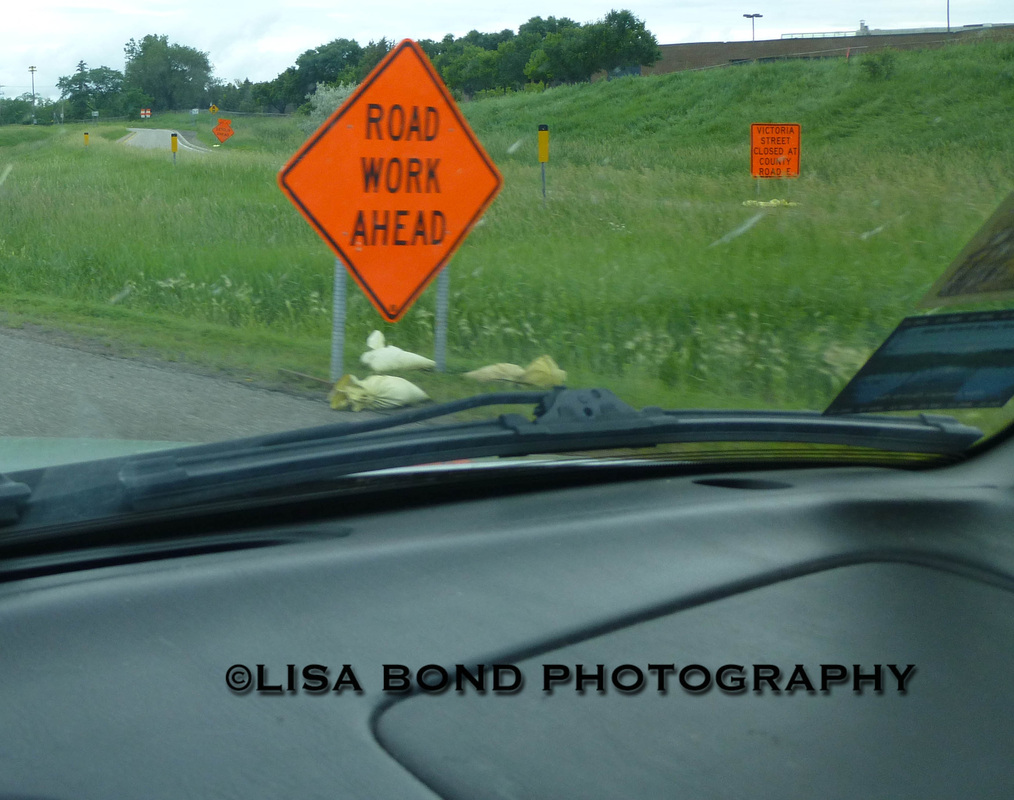
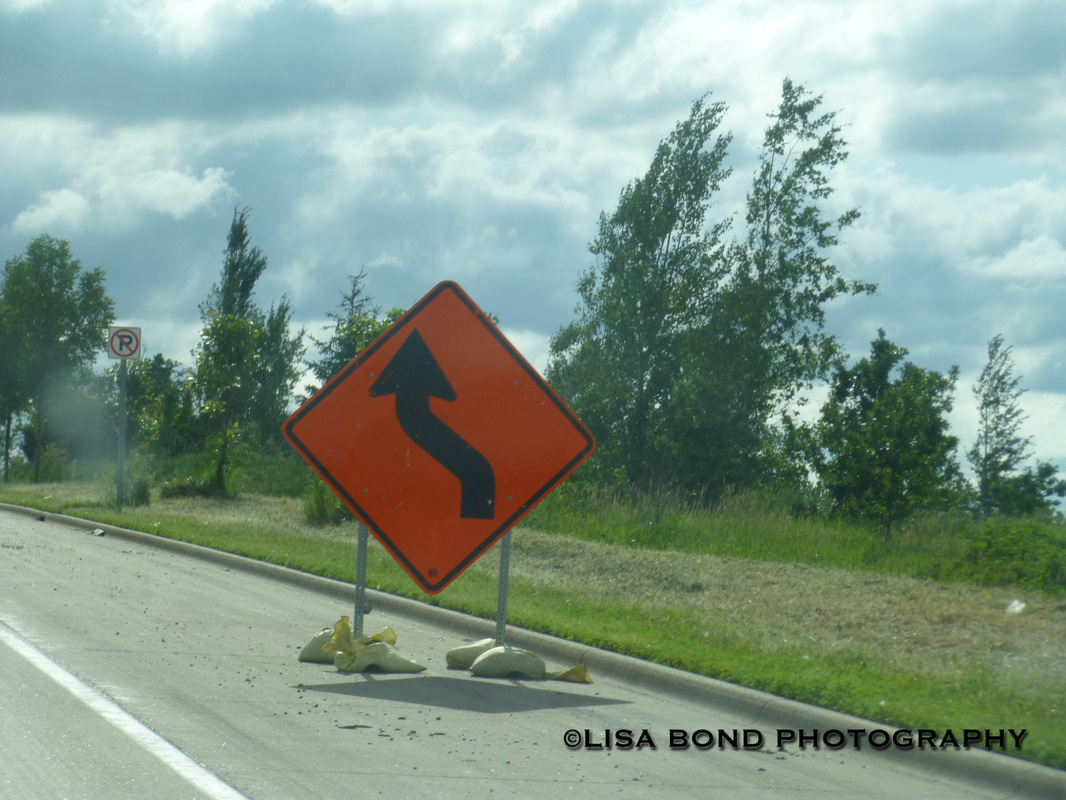
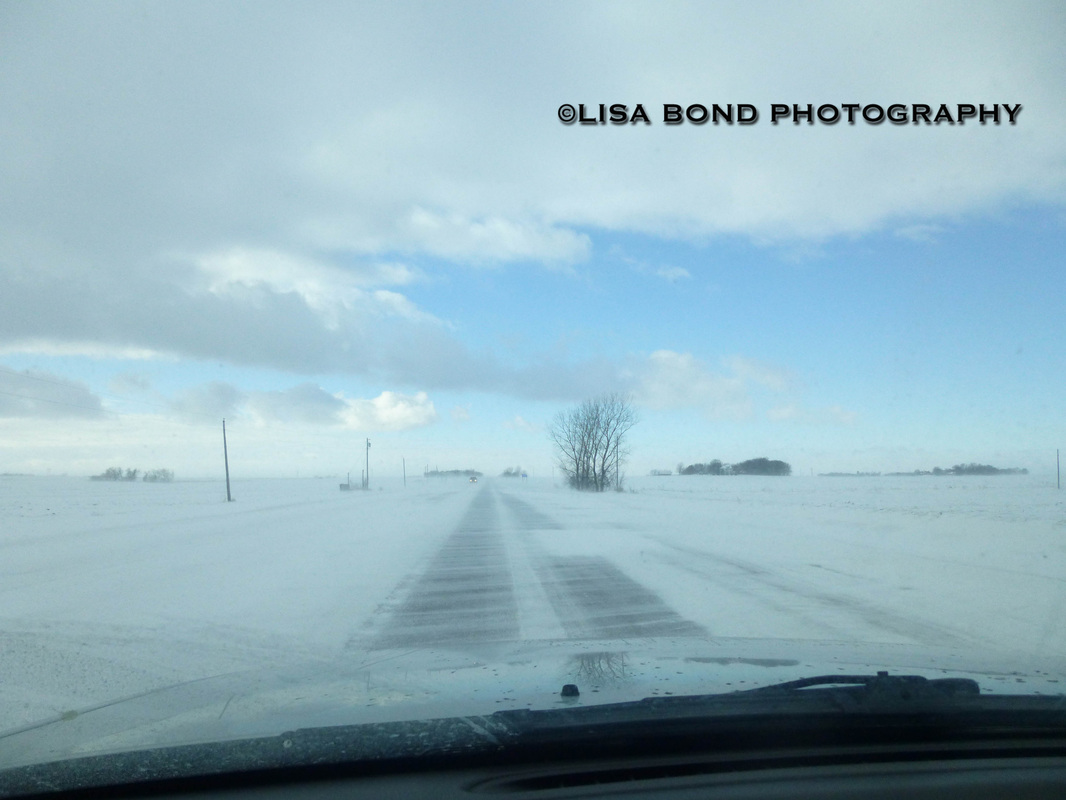
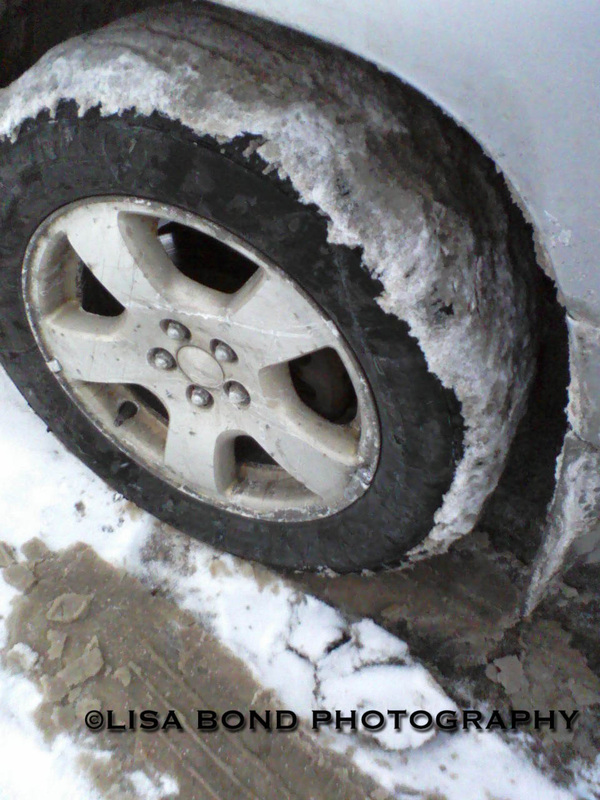
If you are a fan of pecan pie, you won't want to miss this recipe. I've tried my fair share of pecan pies and I have to say this one is worth making and probably better than any you can buy. You will love it and so will everyone else who tries it. In the meantime, my daughter has started playing ice hockey and about 30% of my life now revolves around hockey and hockey rinks, so I have a little less time on my hands. In fact, I am preparing to head out of town for a hockey tournament this weekend. As such, I am going to put a link to last year's Thanksgiving related post concerning Cranberry Daiquiris as it was a popular one. I'll be back with that pecan pie recipe soon! http://www.lisabondphotography.com/blog/thanksgiving-refreshments-a-cranberry-daiquiri Hello potential Minnesota tourists! Now that we've had our first significant snowfall of the season, it is safe to officially declare the beginning of winter. As such, there might be a traveler or two out there who has Minnesota on their upcoming agenda and might be thinking, "I wonder what the driving is going to be like there?" Wonder no more. This blog will present you with the photos and a few well-chosen words to sum up driving during the four seasons. First off, let's set the record straight. There are actually only two seasons in Minnesota: winter and summer. Fall only lasts for a few weeks and we like to call it Indian Summer around here, as it occurs sometime in September or early October, long before any leaves have dropped and the pools probably still have water in them. Yes, we really do have pools. Every Minnesotan either has a lake or a pool. It's one of our residential rights. Then we play hockey or skate on them in the winter. The last few years, it's been snowing in April and May, therefore, so much for Spring. The mosquitos will be biting by the time the snow melts. That means it's officially summer. Now for those pictures I promised. Here's what you can expect driving in Minnesota in the Summer: As soon as the last barrel is picked up, the snow starts flying. Here's what you can expect in the Winter: Since you might be coming in Winter, it's helpful to know about "White Knuckle" steering. To keep with the times and at least appear hip, let's hereinafter refer to it as WK. It's a simple procedure, you'll be able to learn it quickly and it will come in handy right out of the rental car parking lot. First of all, put your hands in the proper 10 and 2:00 position. Never mind what your teen's driving instructor (the paid one) is telling them about 8 and 4:00. You won't be able to achieve a proper WK doing that. Get your hands at 10-and-2. Now grip the steering wheel as tight and hard as you can, until your knuckles start to turn white. It might take awhile for them to turn white, just keep hanging on. There you go, now you've got it. The reality is, you won't have to practice WK much at all. Once the car starts sliding out of control (what we in Minnesota like to affectionately refer to as "fish-tailing" and it's not something that happens in a boat) WK is an auto-reflex and your hands will immediately know what to do. It doesn't really help steer the car any better, but you will feel more in control knowing that you are hanging on as tight as you can. If you see a patch of ice, do not, I repeat, do not hit the brakes. Engage the WK and start praying out loud as you "glide" across the ice. Taking several deep breaths or breathing rapidly, whatever works for you, might help too. When you come out the other side of it, a small celebration will be in order. Well, there you go. That's about everything you'll need to know about driving here. If you come in the summer, the driving will go as slow as it does in the winter, oh I'd say around 10 mph, 20 if you're lucky on account of all the cones and barrels and lane closures. There's a lot of road repair to be done here after the snowplowing and pot-hole formations (to be explained in a future blog). The road crews do not waste a second getting right to work on fixing the winter damage and coming up with new projects. The roads need to be rebuilt regularly after what they go through every year. You'll have plenty of time to find your way around going at that speed. There might be some horns blaring and fingers flying. Don't be fooled by "Minnesota Nice" and misinterpret it for waving when you are driving. We are one of the top states for Road Rage incidents, particularly in the summer. You can probably see why just looking at the pictures. There is much less road rage in the winter, probably on account of the WK we're all doing. It's best to ignore it and fast forward to the end of the blog. The moral of the story is: leave more time than you think to get there. Double or triple the time it would take you to drive that distance in most other places. If Mapquest tells you 20 minutes, make it 60. You will impress everyone by being on time to your destination. Don't tell 'em you heard it from the Queen of IML8. And on a final note, after all that driving, you deserve to relax. You're likely to see one of these along your route or many other alternatives. We have A LOT of liquor stores here, not like some other states. Pull an immediate right or left and take care of business. You'll thank me later! 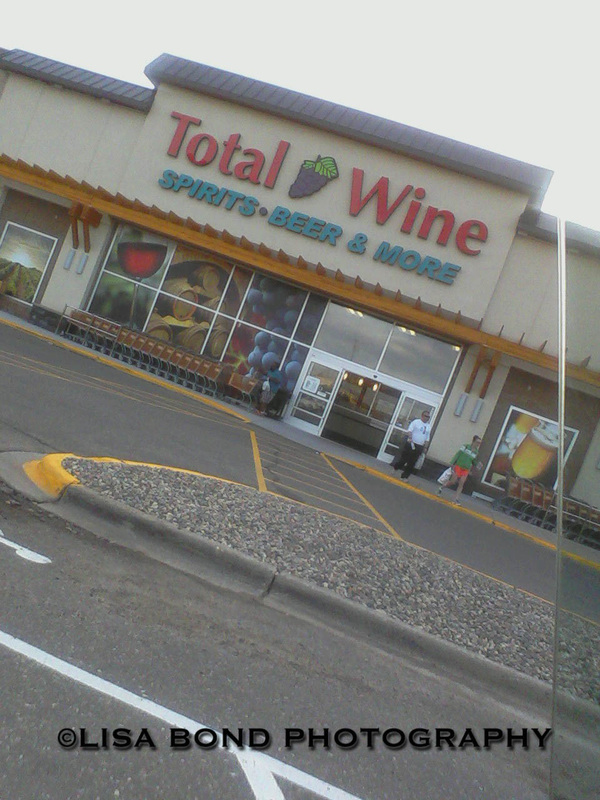 |
AuthorI am a photographer who lives in Minnesota. I blog about Minnesota, photography, music, food and miscellaneous topics. Archives
November 2016
Categor
All
|


 RSS Feed