|
It would be fun if conversation hearts came in different themes. I would be sure to buy ones that featured love song titles in the classic rock genre. I decided to make some of my own in the meantime. Wishing you a Very Happy Valentine's Day!
Enjoy some contemporary holiday design as I pass through this building on my way to the bus. It feels quite fabulous to walk through here. They did a great job decorating this space for the holidays but still allowing plenty of room for traffic to move through the area. Happy holidays!
Last June I wrote a blog about Jack White and the Black Keys and in particular, I noted that Jack performed an Elvis Presley cover called "The Power of My Love" at his record-store day vinyl release party.
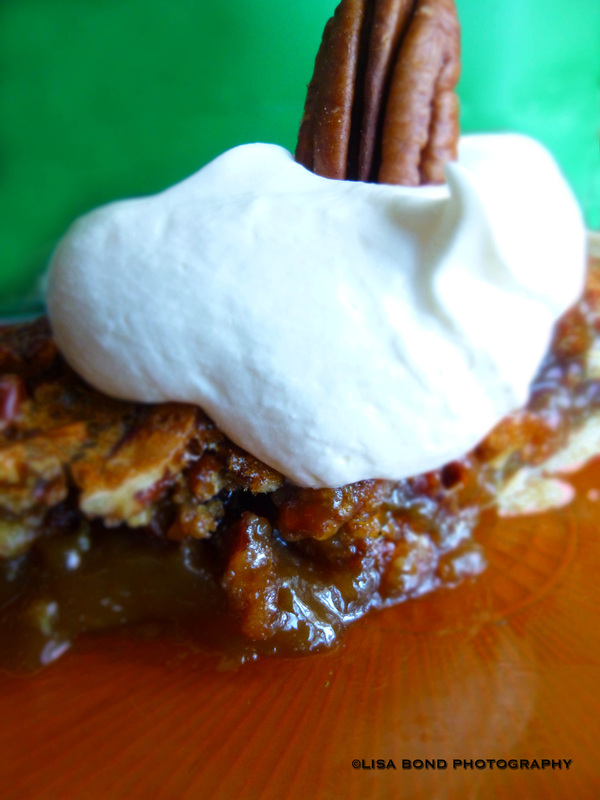
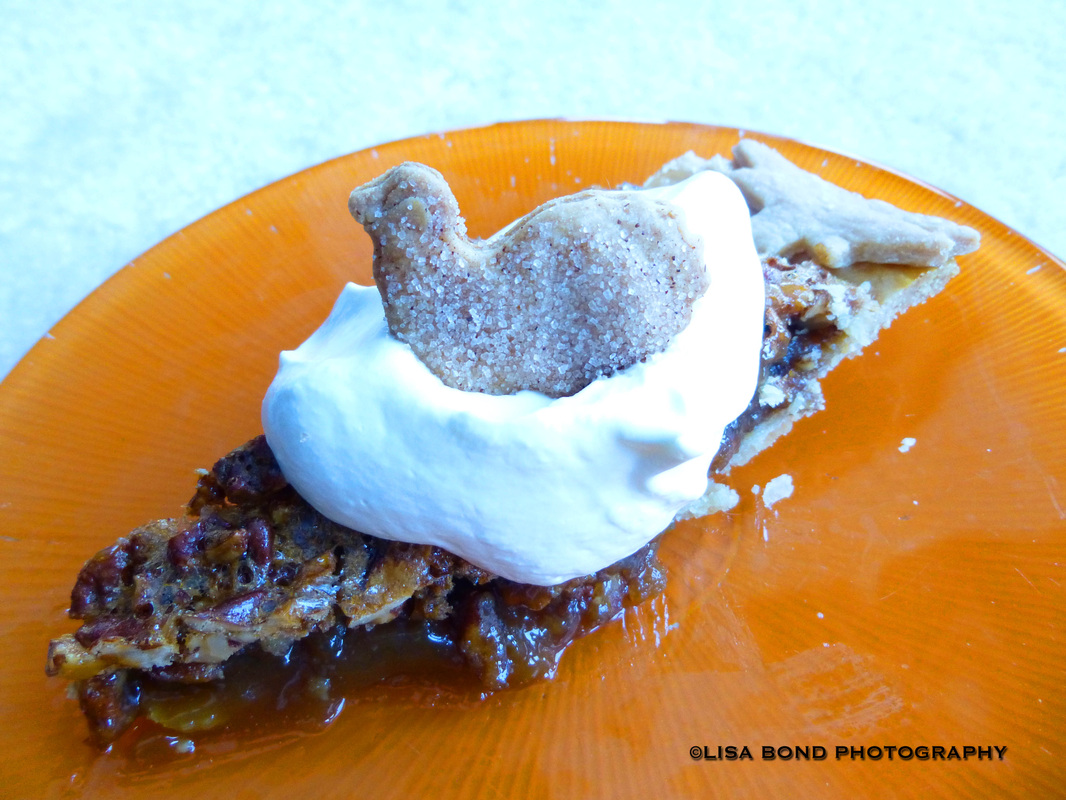
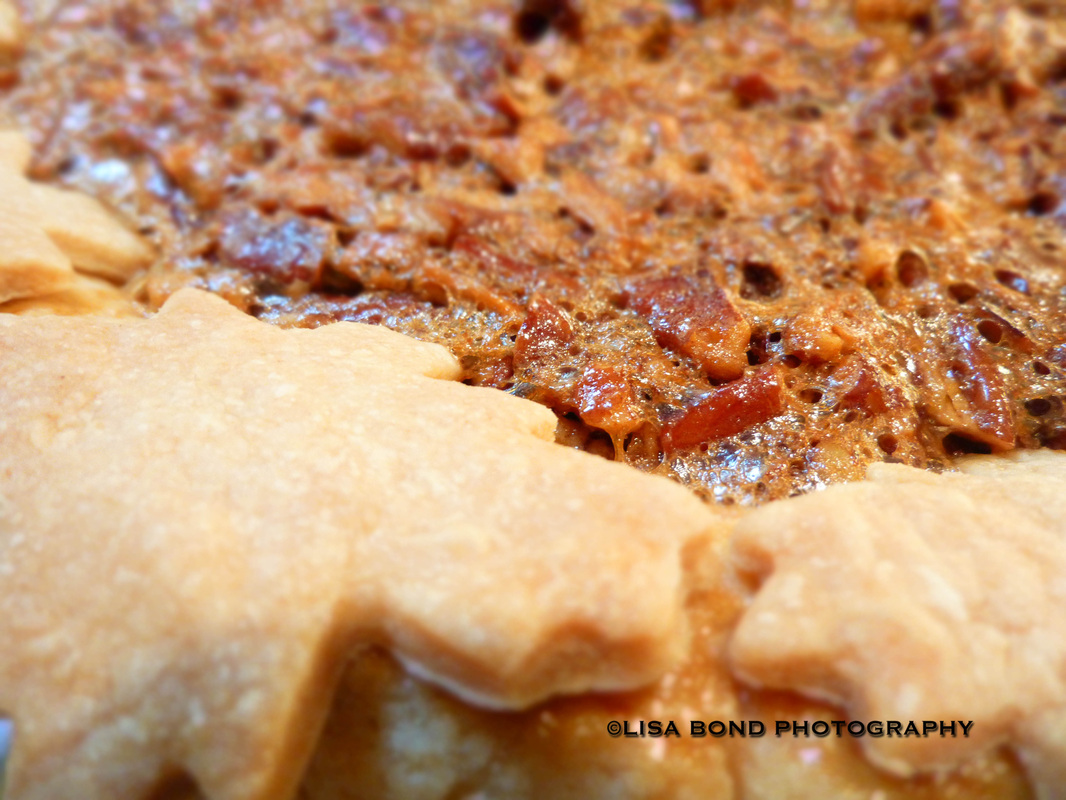
Here is a link to that post in case you missed it: http://www.lisabondphotography.com/blog/category/the%20black%20keys The vinyl that he released from his store is running about oh $200 on Ebay these days. It's an awesome performance and I remarked that the studio release of "Lazaretto" did not include the B-side Presley cover on it, like the special release live performance vinyl did. There was a bootleg copy running around and we could only hope that it would be released to the masses someday. I decided to check iTunes this week and there it was. So in the spirit of the holiday season and to pay tribute to Jack's homage to the number three, I'm going to give 3 free copies of this song to the first 3 people who ask for it. I bought the downloads and was going to try to paste them here for you to take. It didn't work however so I'm waiting to hear back from iTunes as to how to do that. Please feel free to shoot me an email at bondseye777@yahoo.com or put your email in a comment and I will forward the free download email to you. If they go quickly, I'll be sure to put up a post so you will know. I'm also tweeting this so if you are interested, please do reply soon. Wishing you all a peaceful, happy and most wonderful time of the year! Here is the photo of a slice of Perfect Pecan Pie, as promised. The above photo shows it with one of the extra toasted pecans I talked about in the initial post. This photo shows it with one of the little pie crust cookies I made, in this case, a turkey. I had no idea it was going to look like a chicken on a nest when I perched it in the cloud of whipped cream, but oh well!
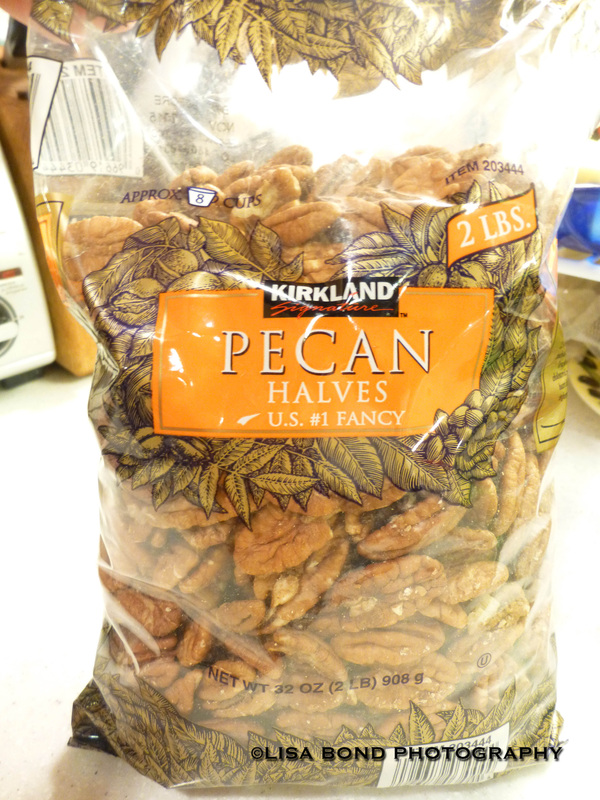
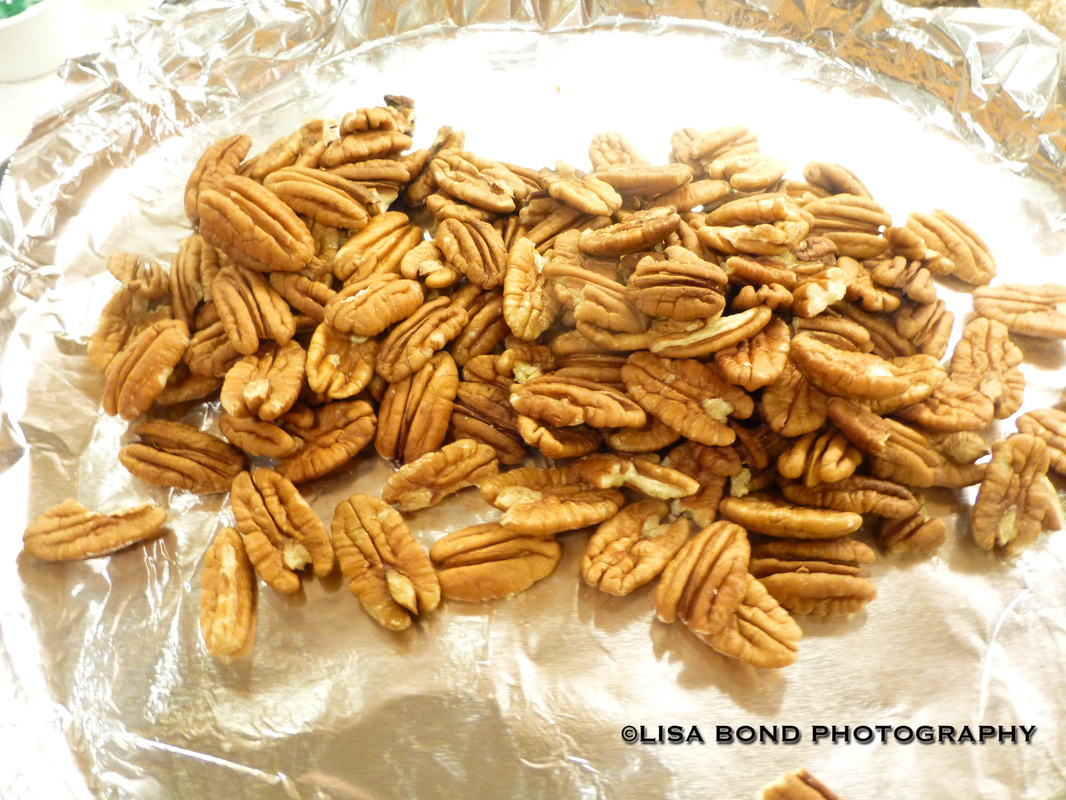
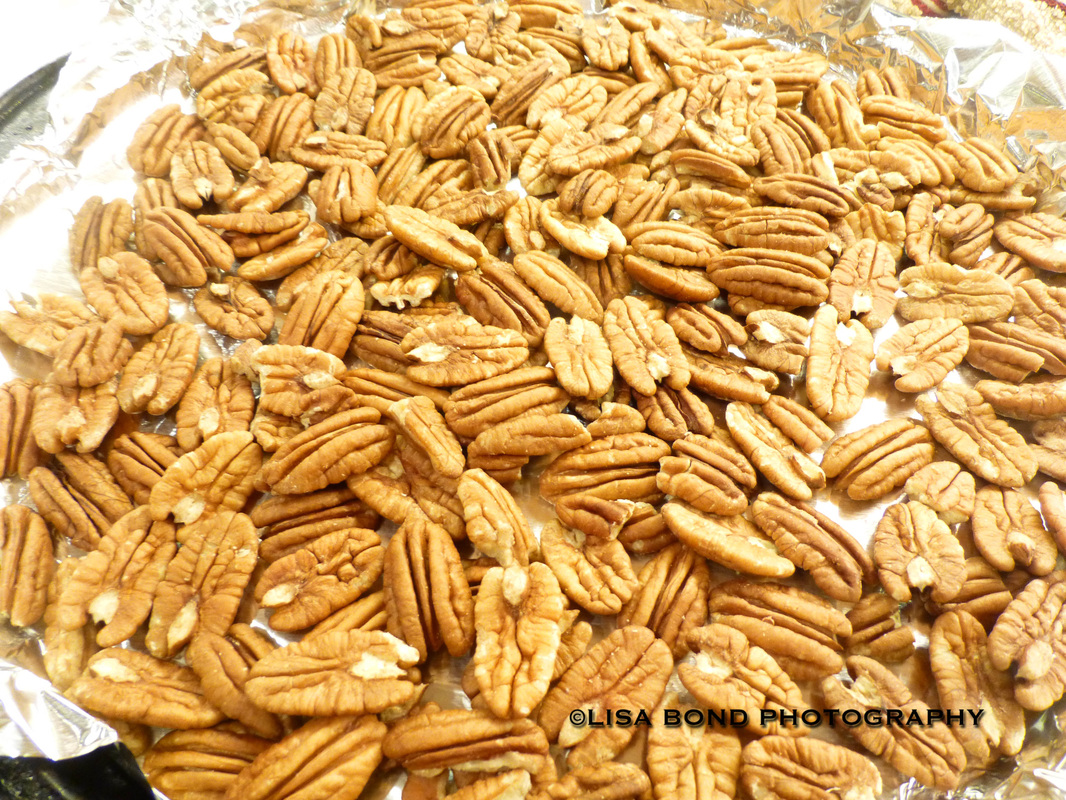
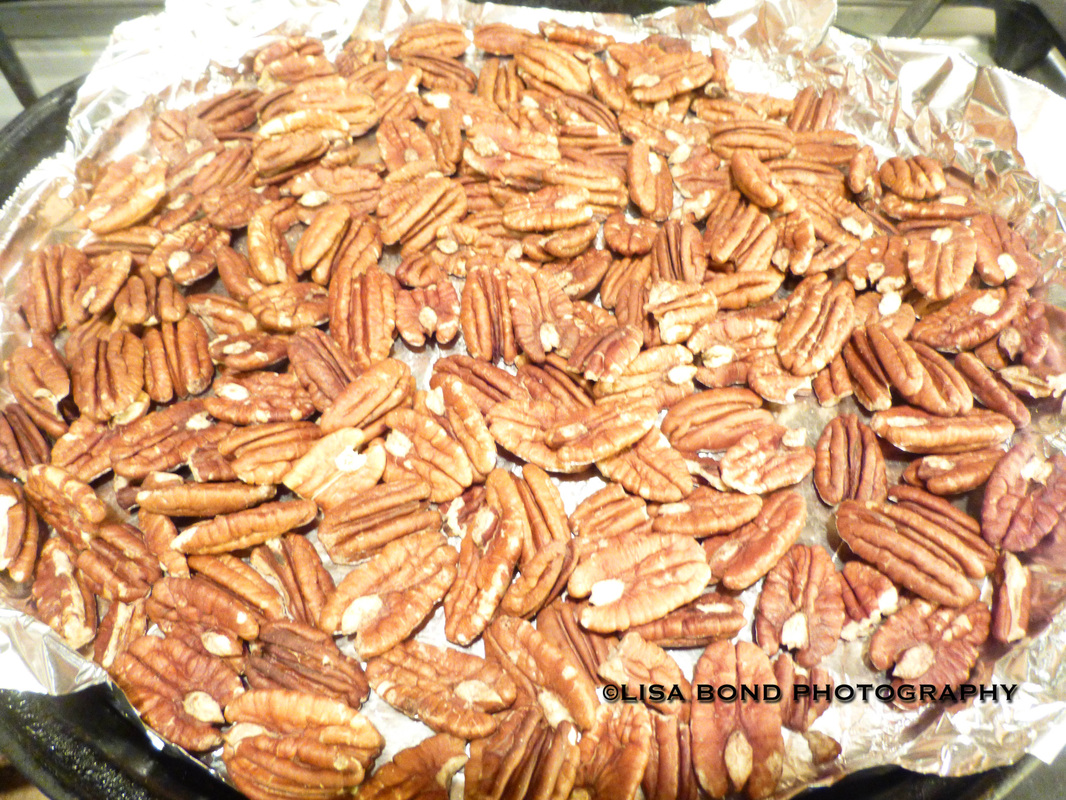
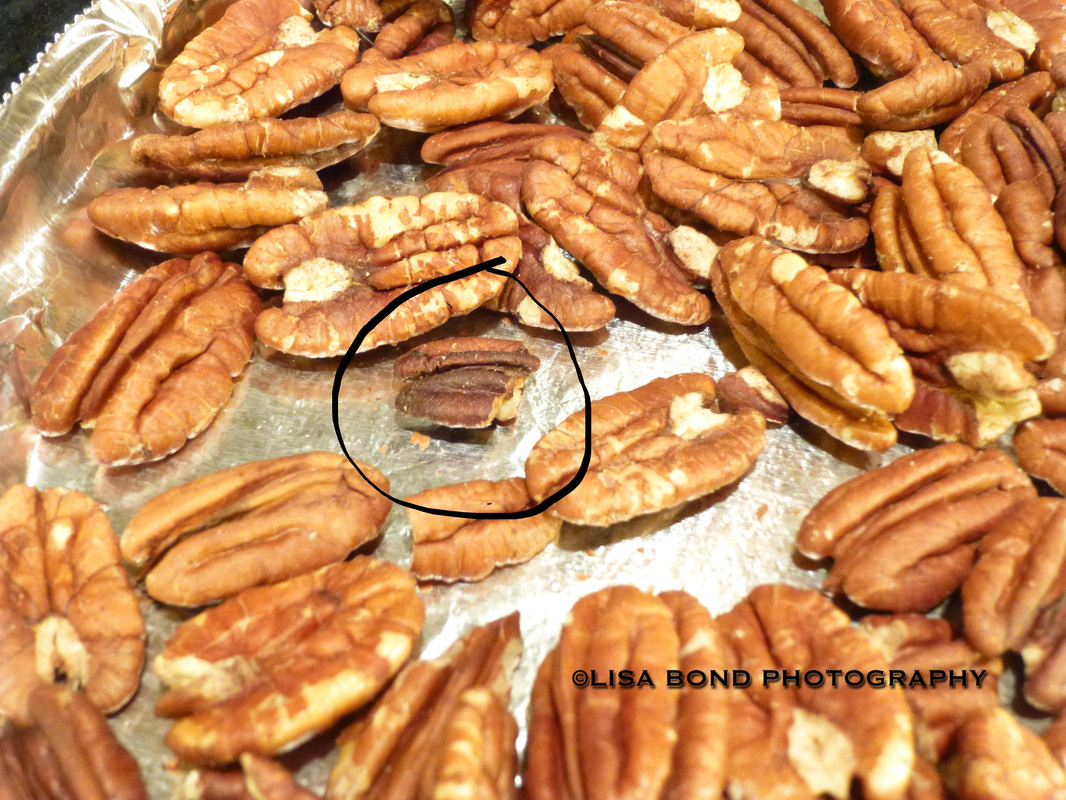
For the record, this is homemade whipped cream, the only kind that will properly do this pie justice. Messing around with Cool Whip or canned whipped cream would be inappropriate with a pie of this caliber. It is worth pointing out that the texture of this pie is a crucial element to its overall success. It is slightly soft but not runny. It is not so firm as to come across as gelatinous which is critical. The filling is opaque and not cloudy as some other pies may appear. The top is crunchy and perfectly balances/counteracts with the softer interior. It is a real winner across all fronts: appearance, texture, and taste. I hope you will give it a try sometime. Thank you for visiting this blog! As promised last week, here is the best Pecan Pie recipe I've ever made. First of all, you need to toast the pecans. I like the Kirkland (Costco) Pecan halves because a 2 lb. bag is only $12.99 and they are nice solid pieces. Take the 2 cups of pecans needed for the recipe and spread them on a baking sheet. I added another cup because I always end up eating some and it's nice to have a few extra for decorations, so I'd say I've got 3 cups here. Heat the oven to 350 degrees and bake them for about 12 minutes. Avoid the temptation to leave the kitchen and do something else. I've burned my fair share of pecans because I got distracted elsewhere. Nuts burn fast and there is no bringing them back once they've gone too far. By the 10 minute mark, it's good to be paying close attention to what's going on and give them a stir. Generally speaking, once you can smell the nuts, they are done. Here are the nuts after they are roasted. These roasted for exactly 12 minutes and they look good. Only one or two look a bit dark. The nut circled below is too dark. You want to throw out any that are this color. I turn on the exhaust fan to get the smell out of the house quick because of my child with nut allergies. Some years I have put them in the patio if it's not too cold or I try to do it when he isn't in the house. Next, you want to chop them up. I chop mine rather gingerly to avoid having nut fragments flying all over the place on account of my child with allergies. Also, I think the larger pieces are more toothsome than if they were chopped too small. The next thing I do is prepare the pie crust. Use any recipe you like, here is the one I used today: Flaky Pie Crust Bon Appétit | 2000 by Elinor Klivans Makes one 9-inch crust A terrific all-purpose pie crust from Elinor Klivans. Use it during the holiday season and all year long. ingredients
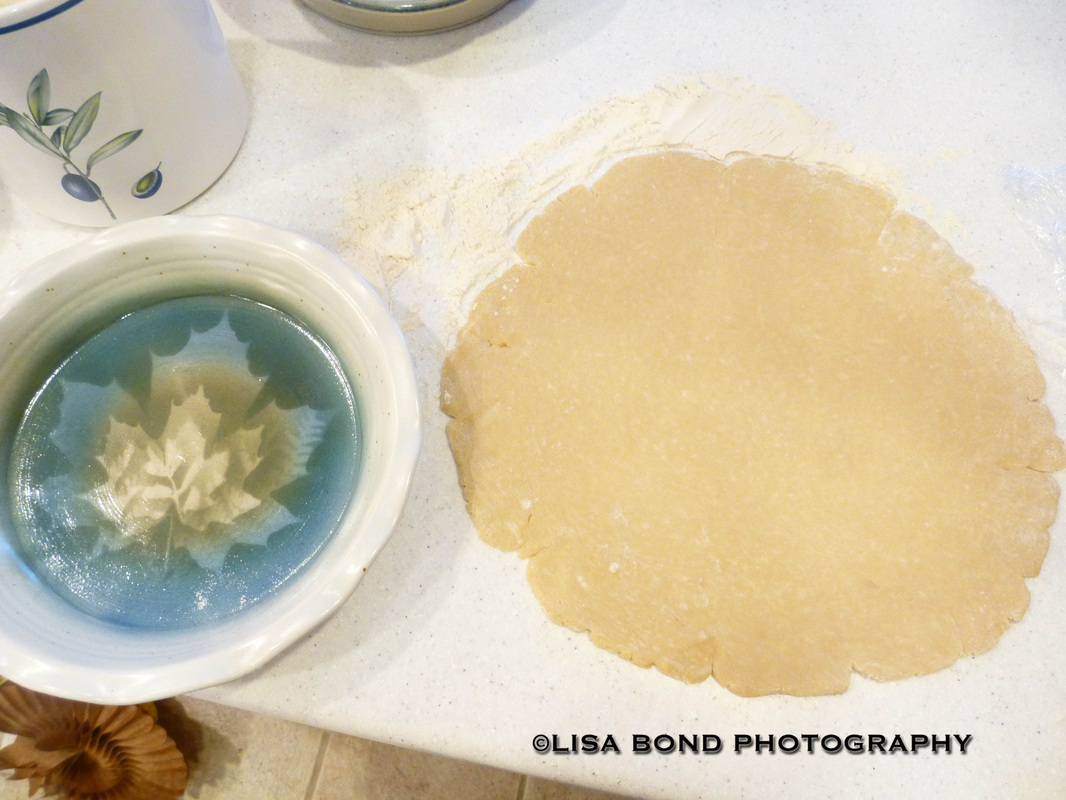
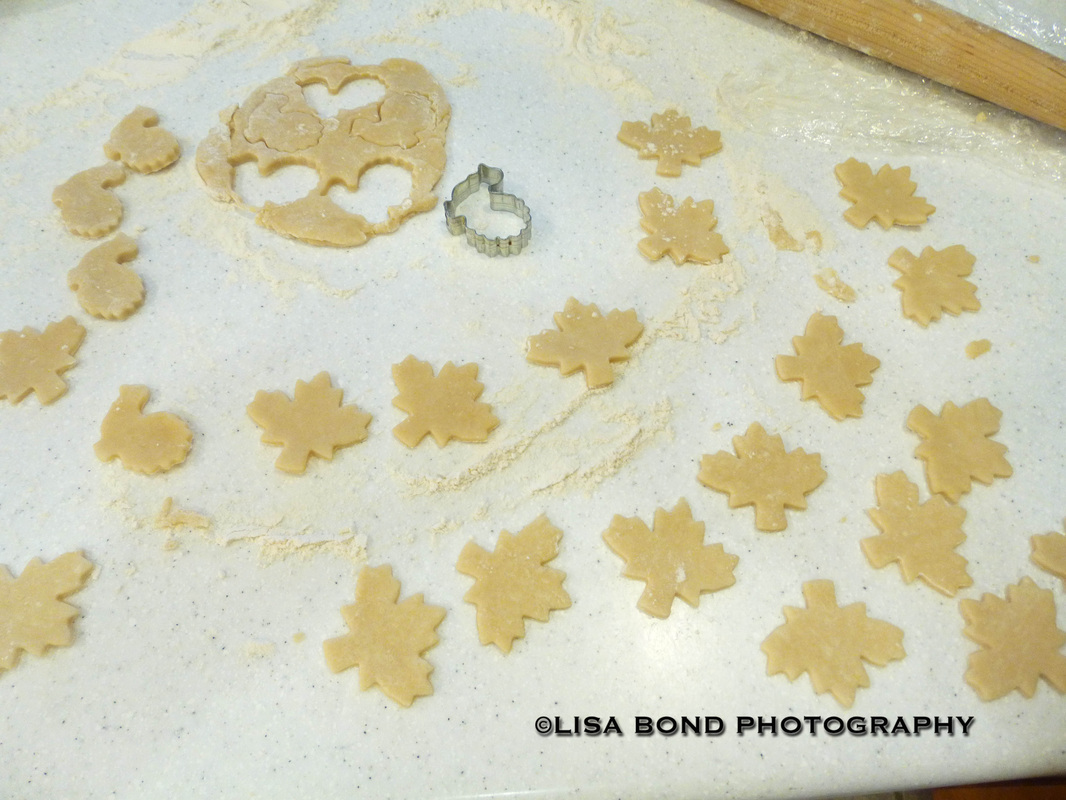
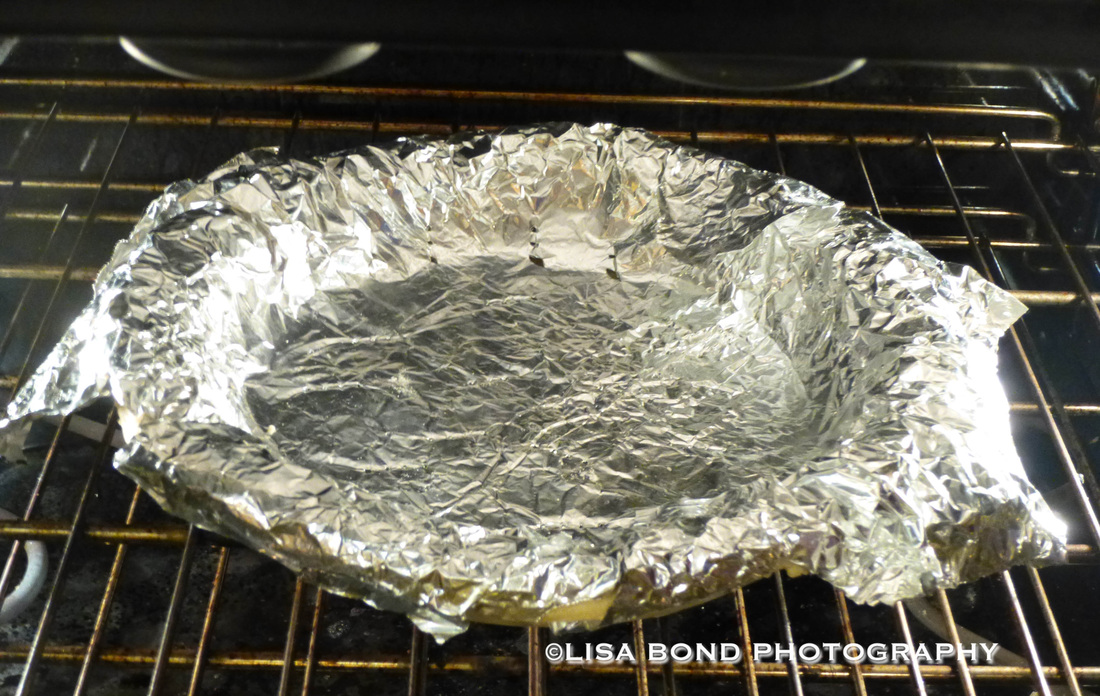
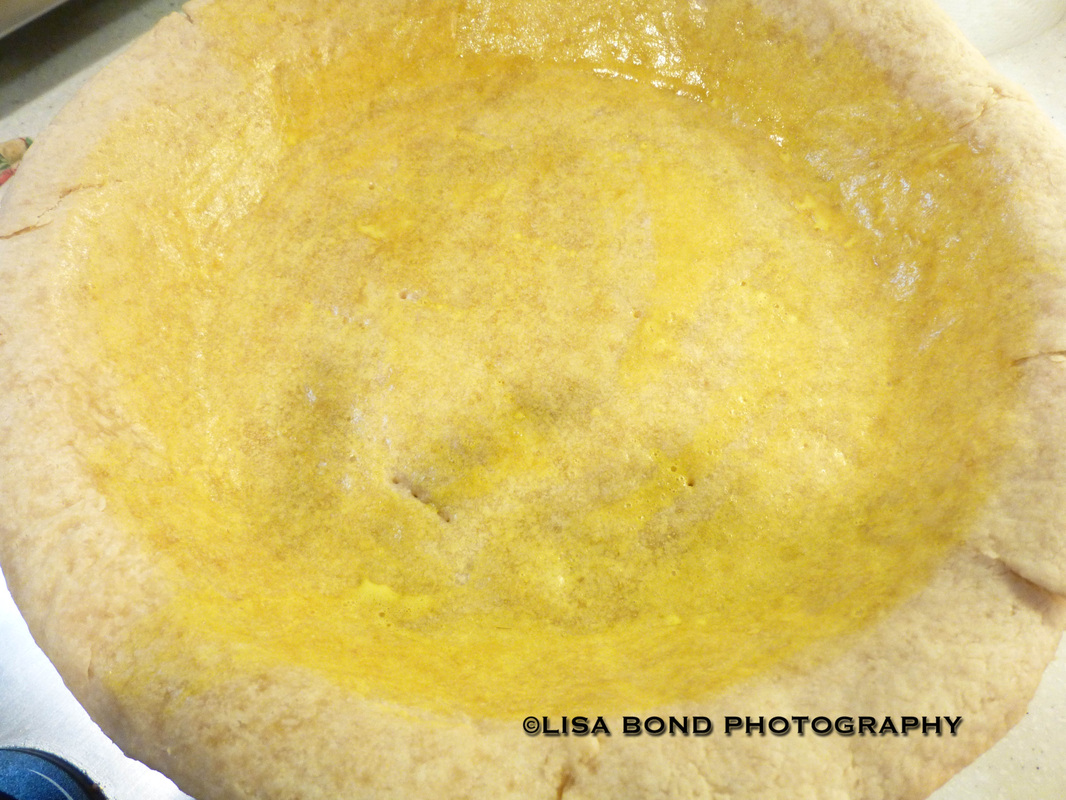
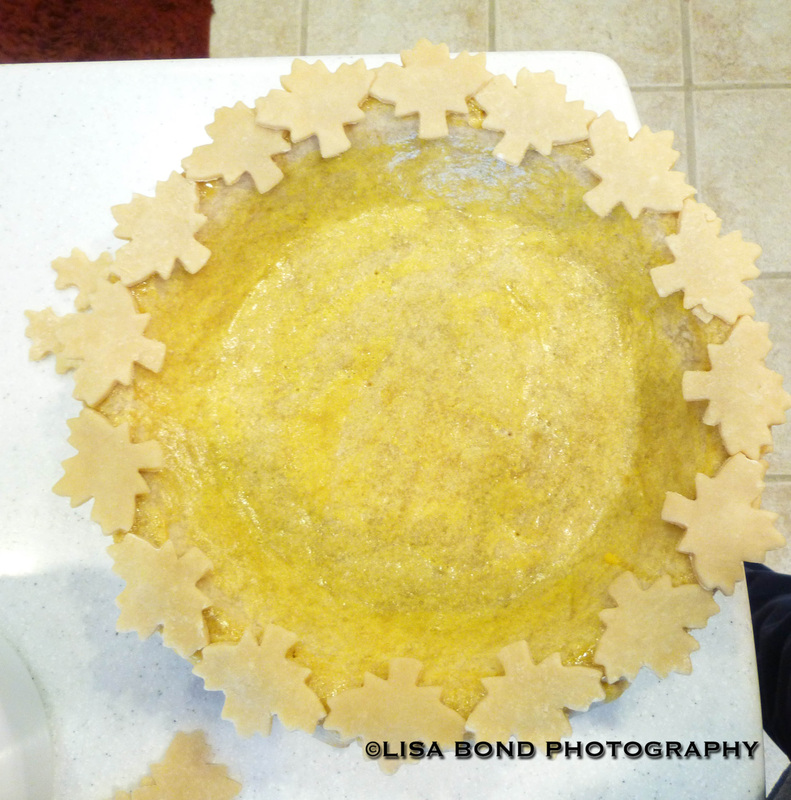
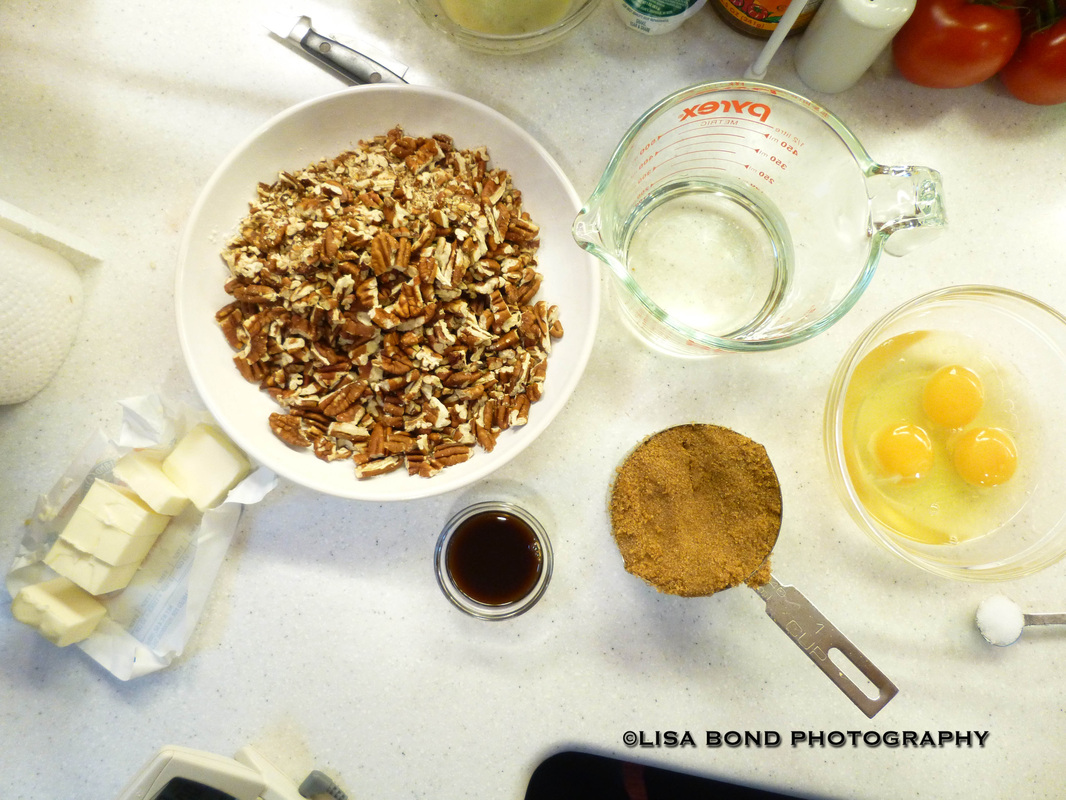
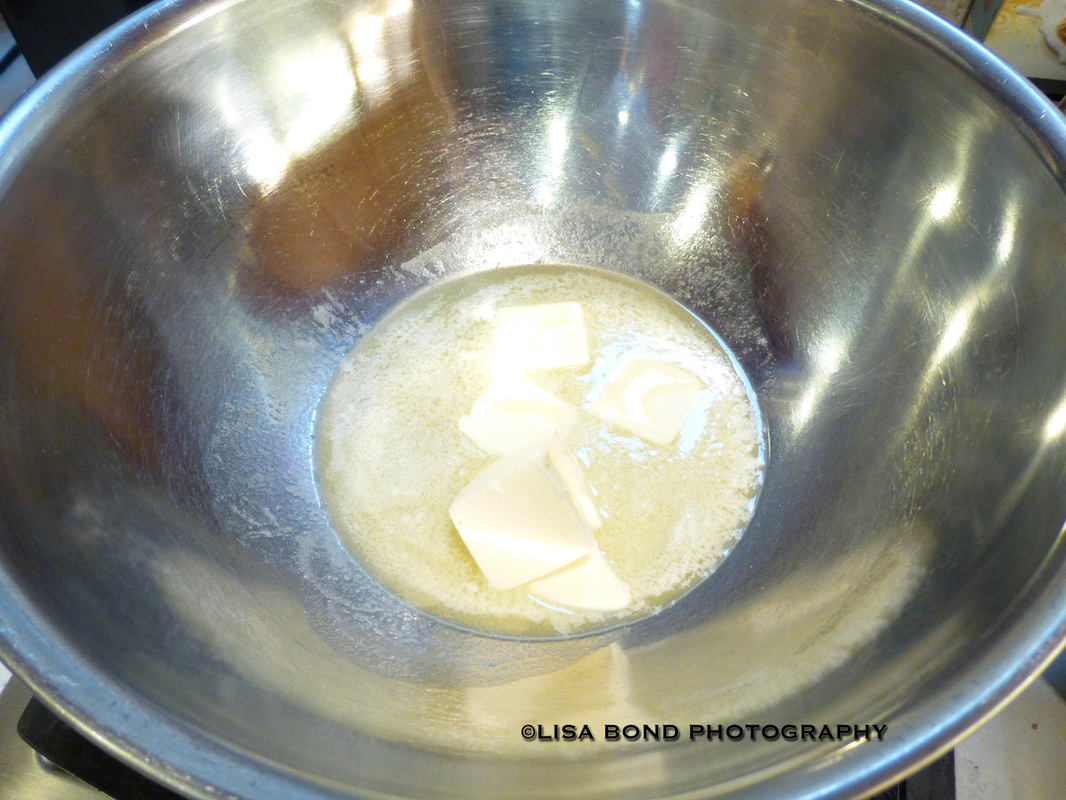
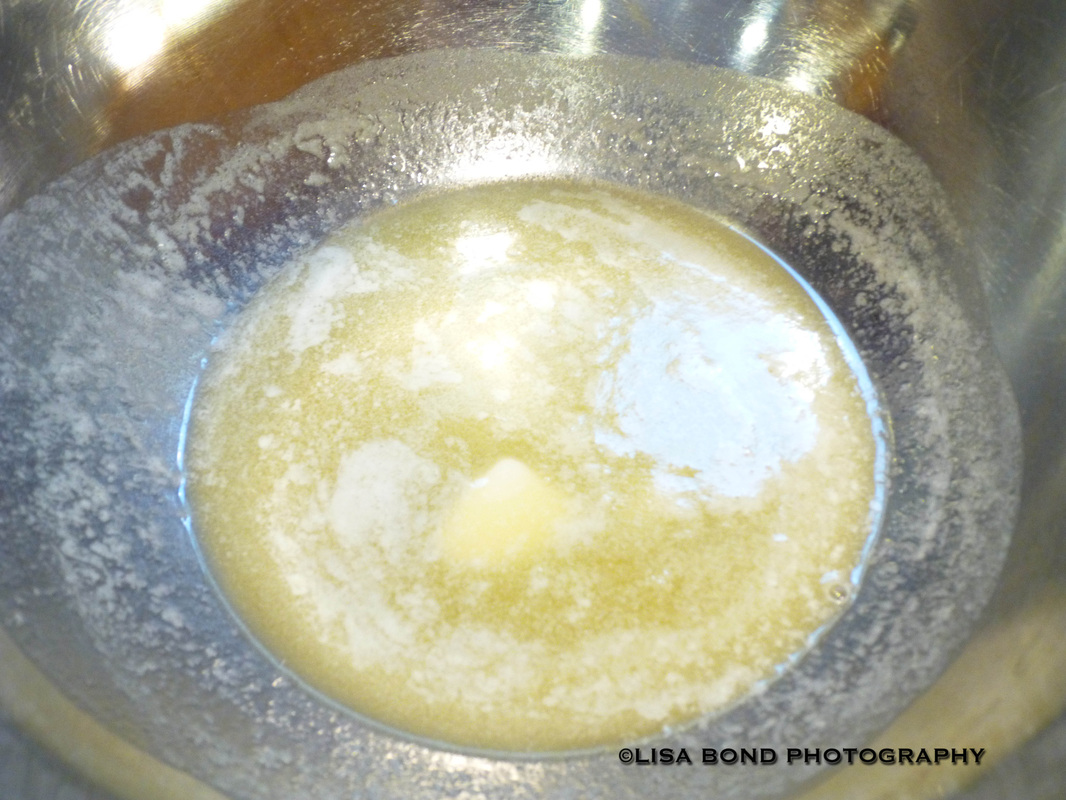
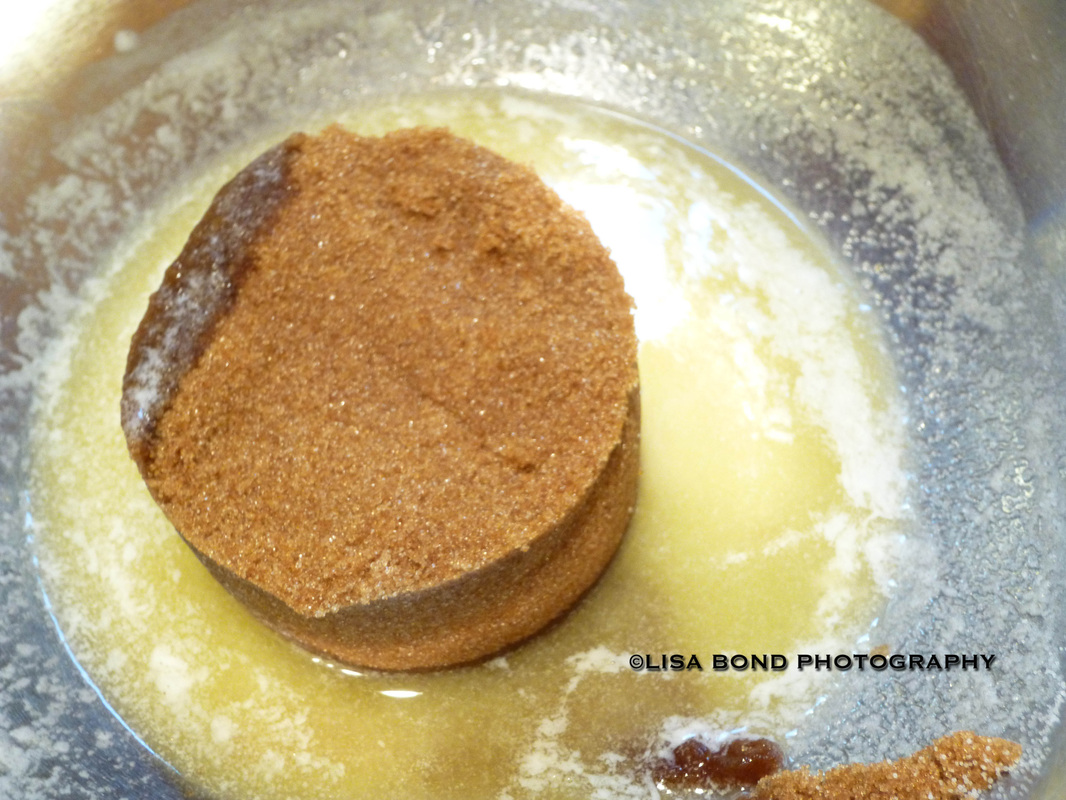
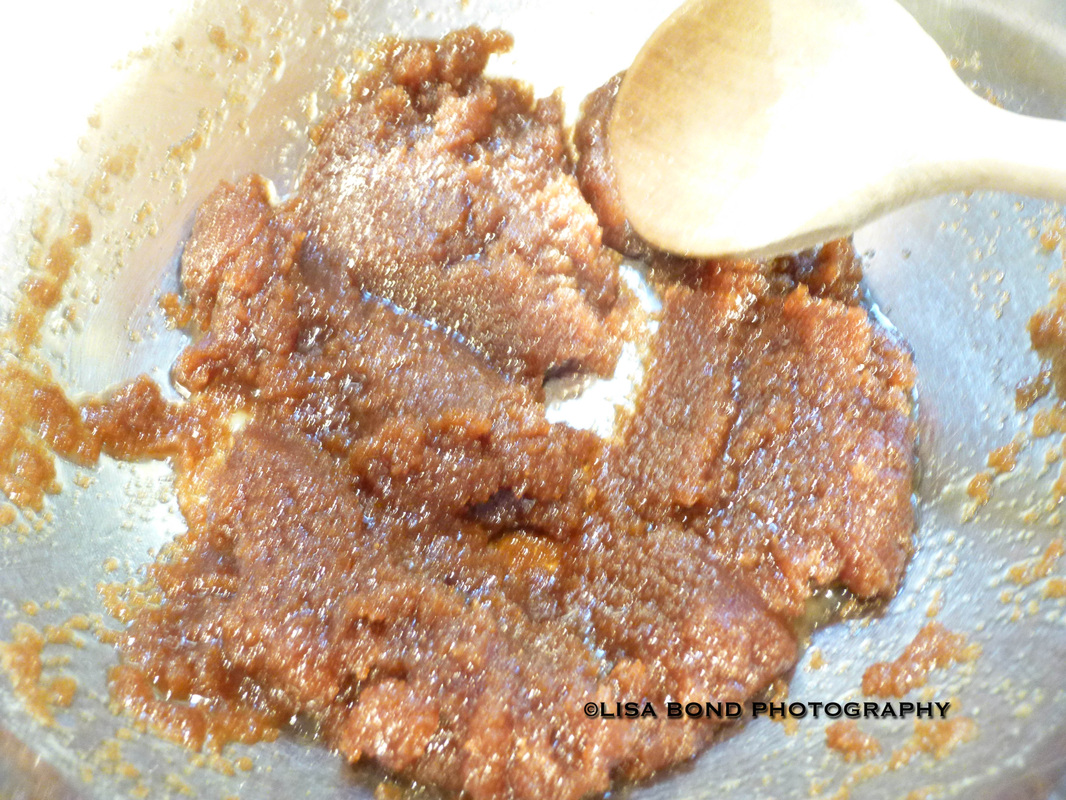
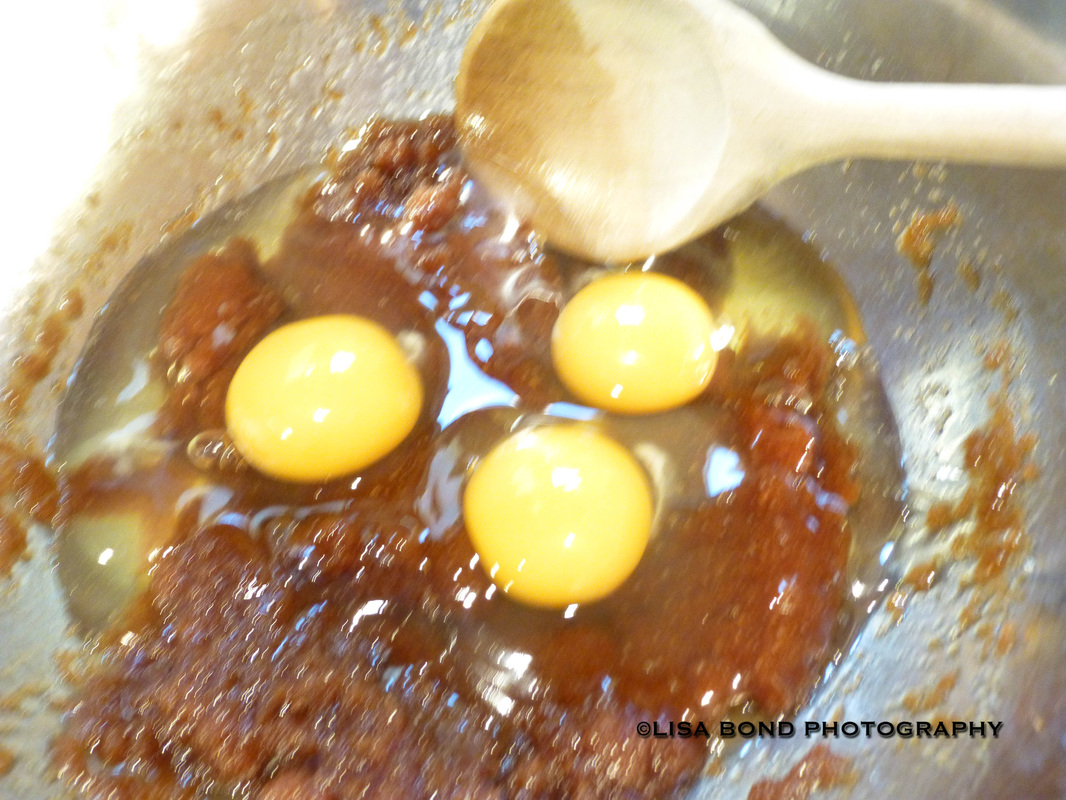
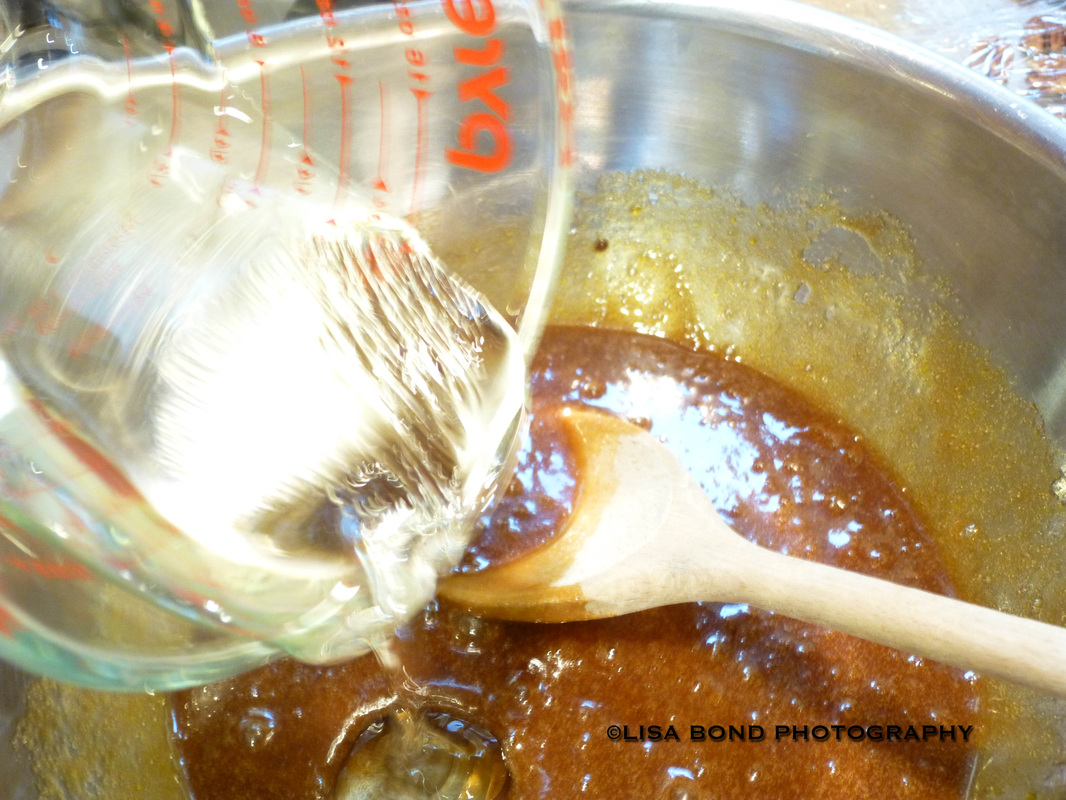
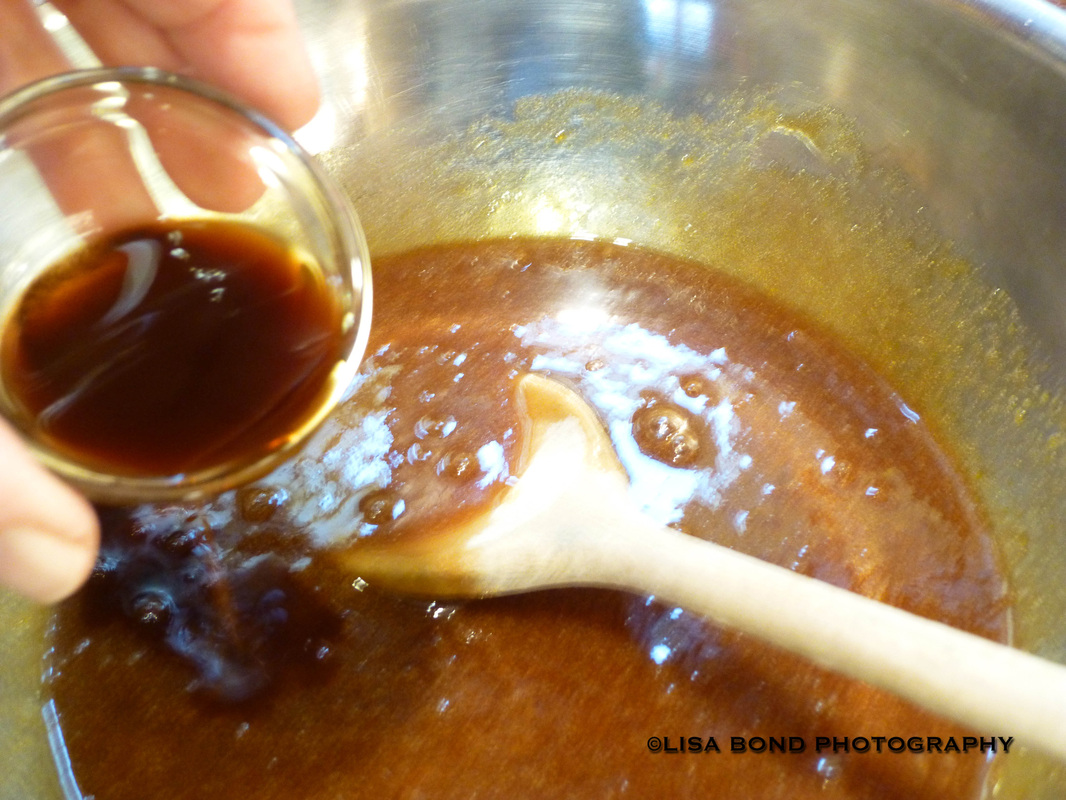
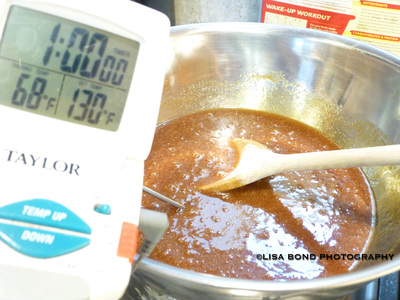
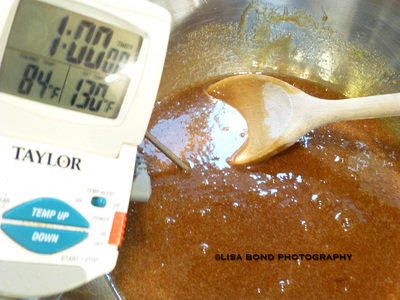
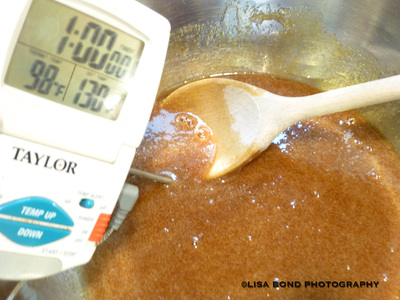
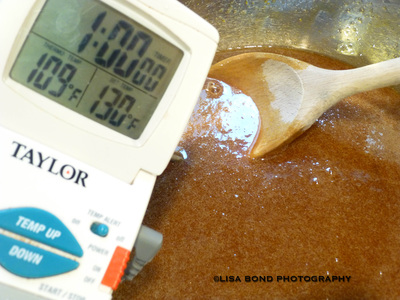
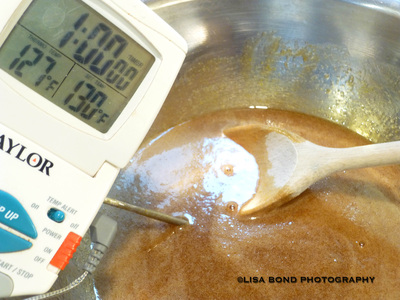
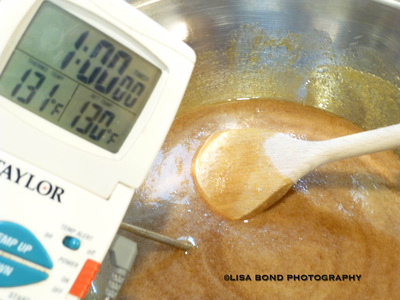
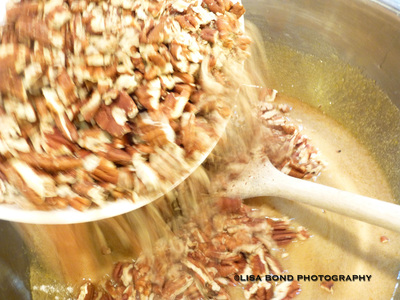
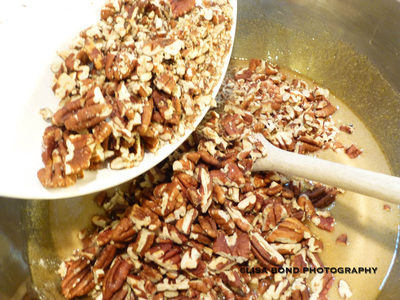
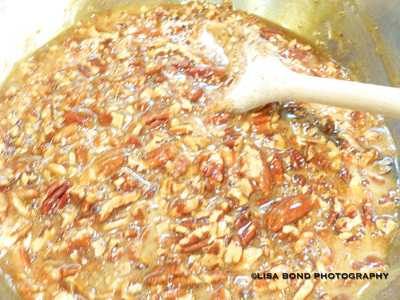
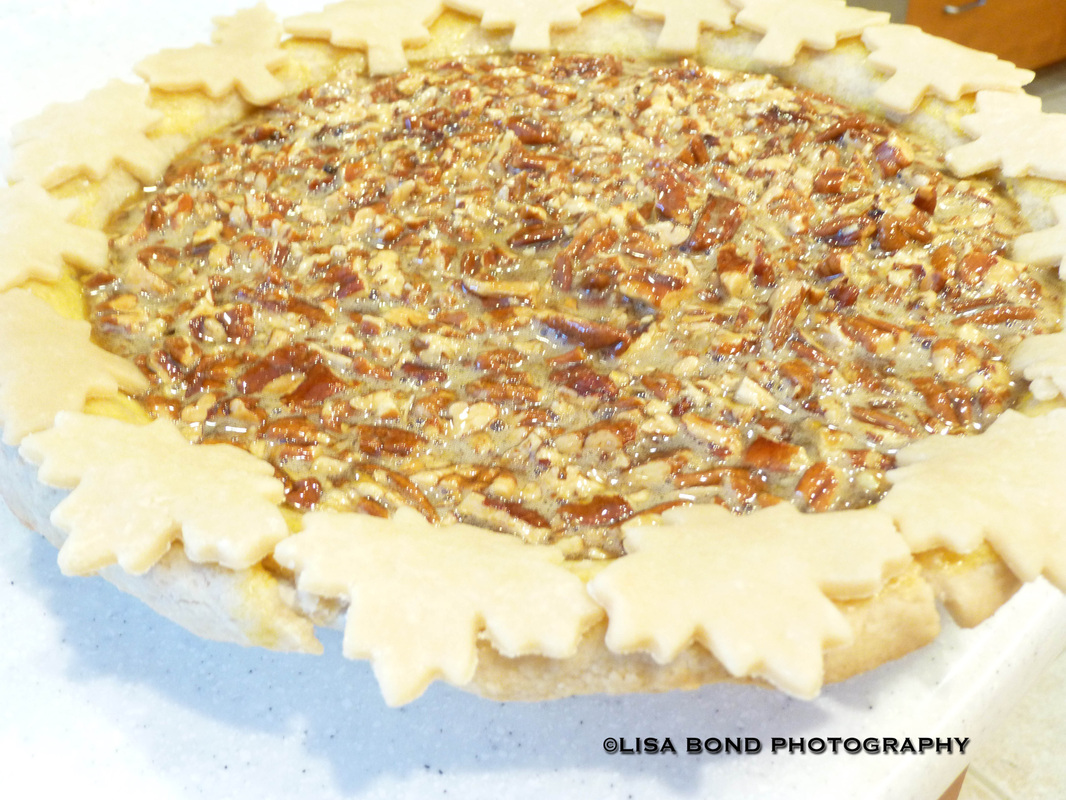
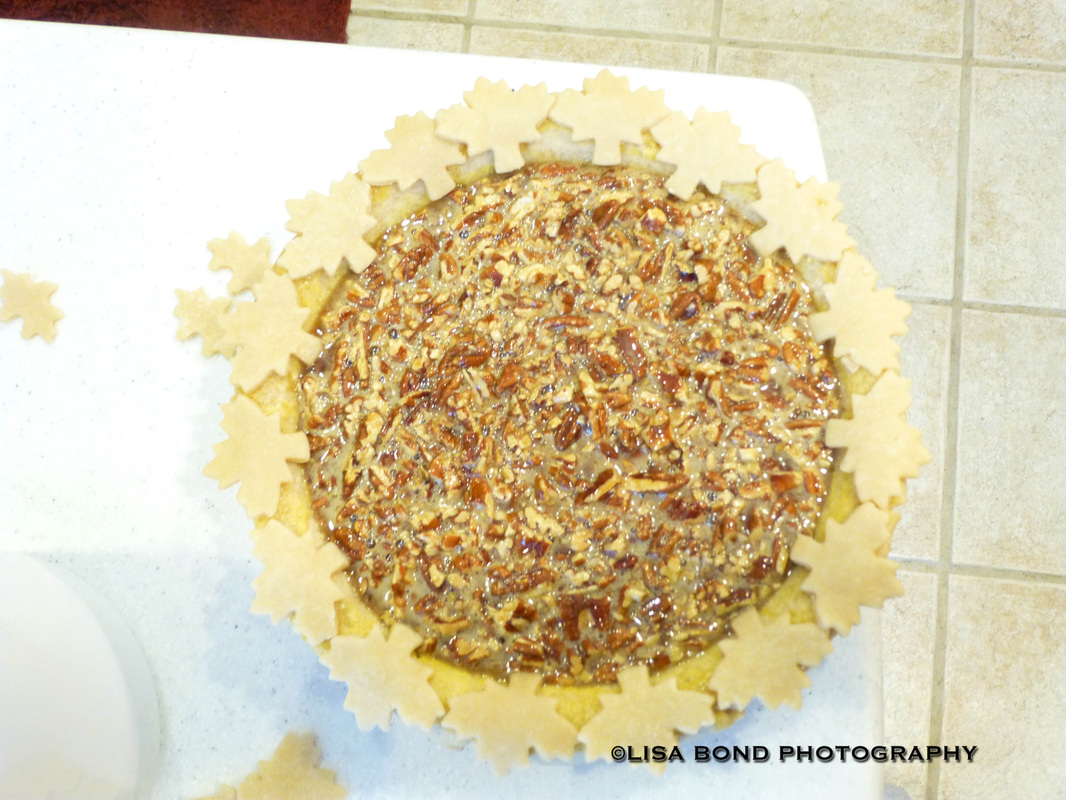
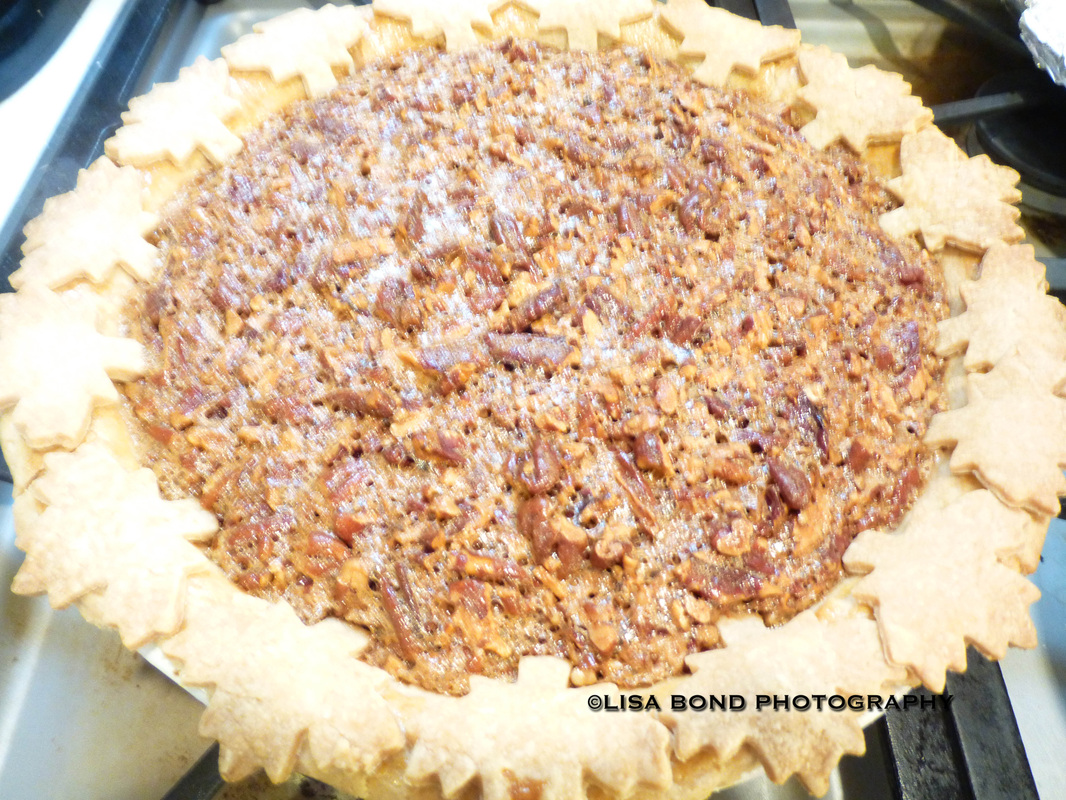
preparationMix flour, sugar and salt in processor. Add butter and shortening. Using on/off turns, process until mixture resembles coarse meal. Drizzle 3 tablespoons ice water over mixture. Process just until moist clumps form, adding more ice water by teaspoonfuls if dough is dry. Gather dough into ball; flatten into disk. Wrap in plastic; chill until dough is firm enough to roll out, about 30 minutes. Roll out dough on lightly floured work surface to 12-inch round. Transfer dough to 9-inch-diameter glass pie dish. Fold overhang under. Crimp edges decoratively. (Can be prepared 2 days ahead. Cover and refrigerate.) Here is the pie crust after it is rolled out. I also like to use festive cookie cutters to cut out little shapes for decoration later. I actually made an extra pie crust to do this. I sprinkle cinnamon sugar on them and bake them for 10 or 15 minutes on a separate cookie sheet. This comes from my Grandma, who used to do exactly that with the pie crust scraps. The kids loved them. This pie crust needs to be blind baked, so bake it in the oven and use whatever you prefer to keep the crust flat: beans, pie weights, another pie pan, etc. Bake it for 15 minutes at 400 degrees. I am using aluminum foil to keep it flat. I also used a fork to poke holes in through the foil to avoid air bubbles forming. Take off the foil and brush an egg yolk wash in the crust. This should consist of one egg yolk with a tiny bit of water, about 1/8 teaspoon. Bake it for one more minute. I am never happy with how my pie crusts look, but here it is for the record. Now I am going to decorate the edges with some of those cookie pie crust leaves I made earlier. Finally, it is time to make the pie filling. Here is the recipe: Perfect Pecan Pie Serves 8 If you want warm pie, cool the pie thoroughly, then cut and warm it in a 250-degree oven for about 20 minutes. 1 9-inch baked pie shell 6 T. unsalted butter, cut into 1 inch pieces 1 cup packed dark brown sugar 1/2 teaspoon salt 3 large eggs 3/4 cup light corn syrup 1 T. vanilla extract 2 C. pecans (8 ounces), toasted and chopped into small pieces 1. Adjust oven rack to center position, and heat oven to 275 degrees. Place pie shell in oven if not already warm. 2. Melt butter in medium heatproof bowl set in skillet of water maintained at just below simmer. Remove bowl from skillet; mix in sugar and salt with wooden spoon until butter is absorbed. Beat in eggs, then corn syrup and vanilla. Return bowl to hot water; stir until mixture is shiny and warm to the touch, about 130 degrees. Remove from heat; stir in pecans. 3. Pour mixture into warm shell; bake until center feels set yet soft, like gelatin, when gently pressed, 50 to 60 minutes. Transfer pie to rack; let cool completely, at least 4 hours. Serve pie at room temperature or warm, with lightly sweetened whipped cream or vanilla ice cream. Cook's Illustrated, November/December 1995 Here is the recipe, step-by-step, with photos. First of all, mise en place. Assembling the ingredients now will help with baking later. Melt butter in medium heatproof bowl set in skillet of water maintained at just below simmer. Remove bowl from skillet; mix in sugar and salt with wooden spoon until butter is absorbed. Beat in eggs, then corn syrup and vanilla. Return bowl to hot water; stir until mixture is shiny and warm to the touch, about 130 degrees. Remove from heat; stir in pecans. Pour mixture into warm shell; bake until center feels set yet soft, like gelatin, when gently pressed, 50 to 60 minutes. I had to bake this pie a bit longer for some reason. I don't remember doing it in year's past, but go with the appearance and make sure the filling isn't sloshing around when the time is up. If it is, bake a little longer. Here is the finished pie. I will take a picture of it tomorrow after I cut a piece and post it for you. Happy Thanksgiving to you all and thank you for stopping by!
Originally published Dec. 9, 2012
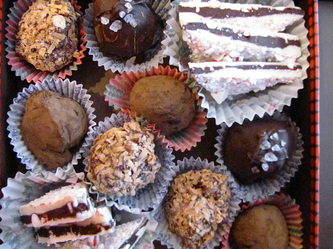
I really love weekends in December. For me, and I think a lot of other people too, they are filled with shopping, decorating and holiday baking. I’m not sure if guys feel the same way. Now that I think about it, probably not so much. Not to be stereotypical…I’m sure there are some guys who do all of that and more. Speaking to the ones who do not, perhaps they at least get to enjoy the fruits of those labors, sneaking a caramel or cookie here and there and generally feeling the warmth emanating from the glow of holiday candles or lights, cards coming in the mail, the anticipation of opening presents, and the joy of giving a special gift. Here are a few images I’ve made over the years. I hope you too are enjoying this time of year whether you are actively or passively participating in it! |
AuthorI am a photographer who lives in Minnesota. I blog about Minnesota, photography, music, food and miscellaneous topics. Archives
November 2016
Categor
All
|






 RSS Feed